Every Non-Rolling Edge for Stockinette That I Know
I am guessing that you landed here because you are feeling frustrated with a sweater edge that won’t stop rolling, no matter what you do. After knitting, and re-knitting, the edge of my first summer knit of 2023 a million times, I think I have an edge solution (or 13!) that will help.
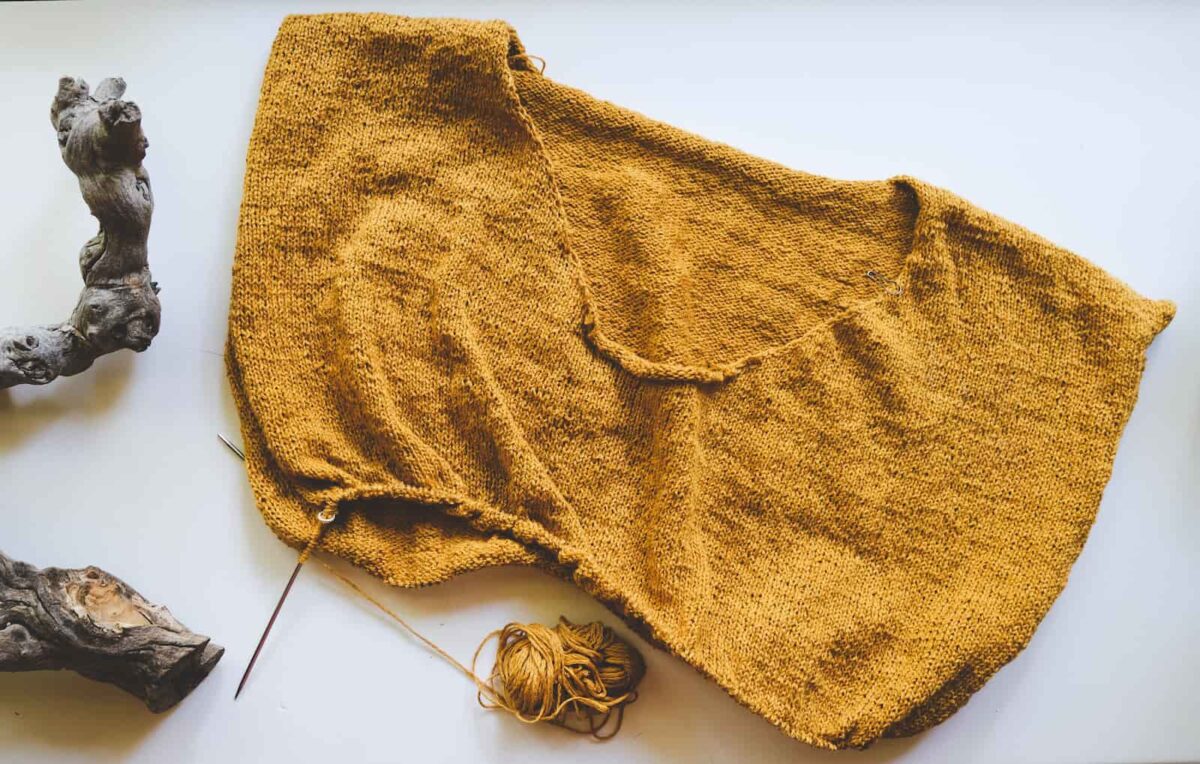
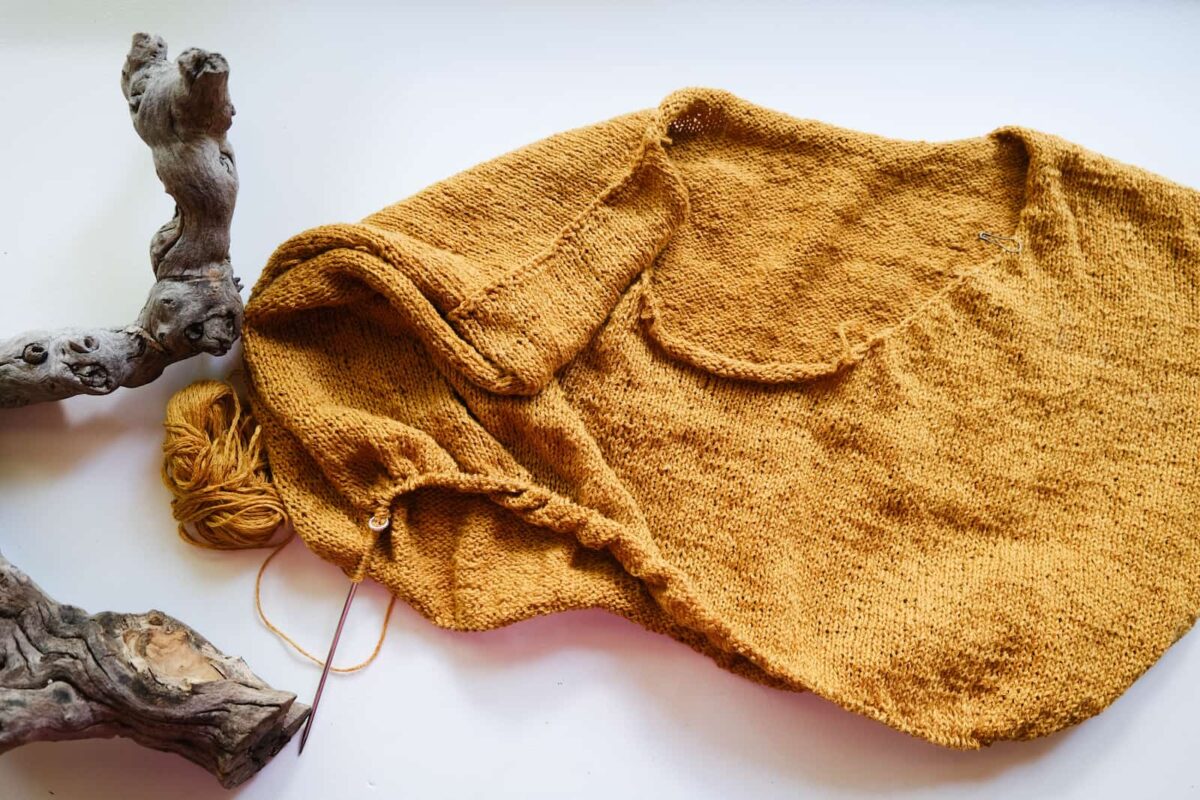
Come relive the traumatic days of my quest to find a no-roll edge for this stockinette top knit in Lindy Chain yarn (a cotton/linen blend). I know for a fact that all of these techniques DO work, depending on your fiber, and have worked for me in the past.
My unusually annoying predicament with this sweater just gave me an excuse to try each one out… again. Let’s go tame the curl!
Let’s Get to The Edge Fixes, Please
Now let’s dig into the non-rolling sweater edge types, starting with the ones you might find easiest or most intuitive.
Variations on the I-Cord
I-cord was the bind-off recommended in my Raw-tee pattern and seemed to work beautifully for the designer when worked in wool. My cotton blend did not want to cooperate, but I tried dutifully.
1. Straight-Up I-Cord, Worked Tightly
Some people finish off a sweater with an I-Cord and don’t deal with rolling. Just look at the sample for the pattern I used for my summer tee. The designer advised knitters to be sure to tighten the yarn after slipping the three stitches while performing their I-Cord bind. However, the tightening and I-cord didn’t help my edge.
2. I-Cord Performed With a Larger Needle
Upon the suggestion of a couple of my viewers (Hi, Andrea and Eunice!) I tried going up a needle size to work the I-Cord on a sleeve edge to make my bind-off more substantial. Sleeves seemed a good place to test a non-roll edging because, duh, they’re easier to rip out. Sadly, it still curled back on itself.
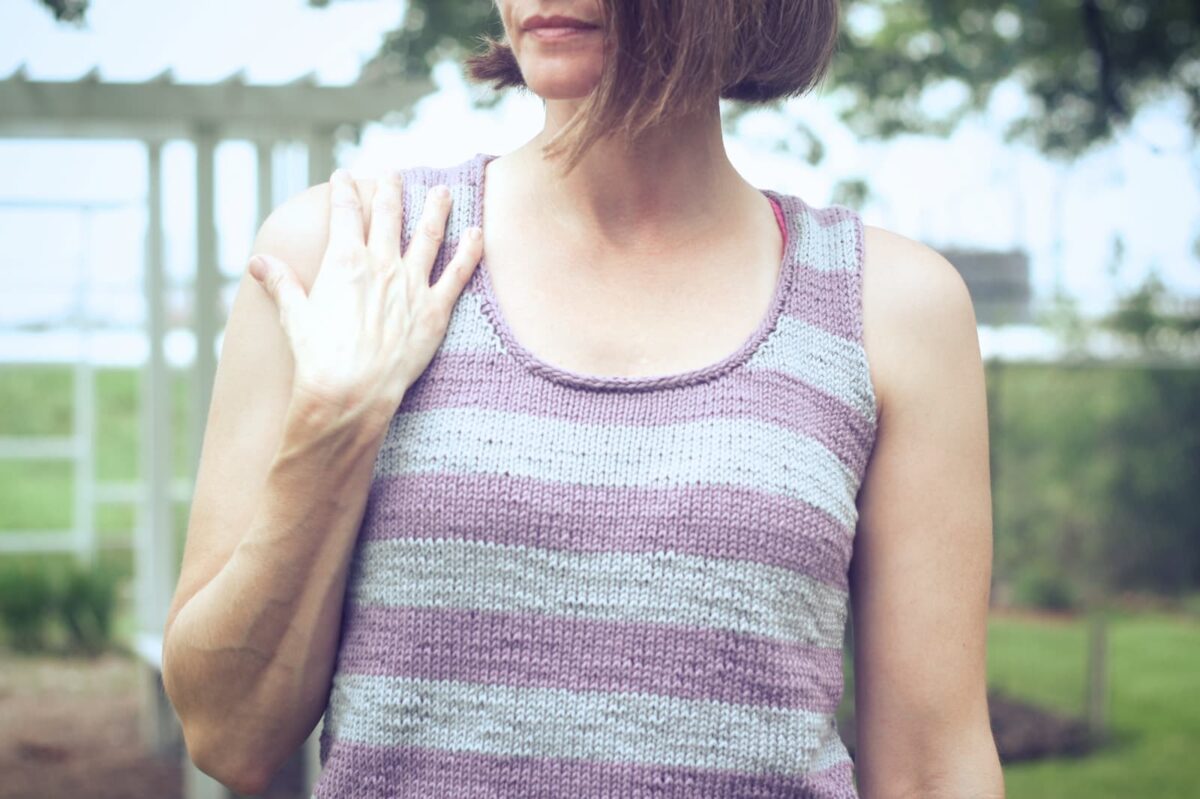
My experience with regular I-Cord: It worked great on necklines and armholes with cotton and cotton blend yarns on my Aquae tank, which is rather fitted and worsted weight.
The neckline on Just Beachy was an equally classy worsted-weight cotton blend. Why did this not work on my Raw-tee? All I can guess is that it is a lightweight yarn in an oversized fit. There’s a lot more loose edge to roll.
Employ Some Purl Rows to Combat the Curling
Sometimes you only need one round of a different stitch to discourage unwanted rolling in your knitwear.
3. Preface Your I-Cord With a Few Purl-Only Rows
Sometimes it only takes one row of all purl stitches to undo the curling effect of the stockinette at the edge. Sometimes you may want to do two or three, for good measure. With my Seaglass and Driftwood sweater, I knit one purl round then worked an I-cord for both neckline and bottom edge. It worked perfectly with sport-weight superwash wool. The thick fabric of the stranded colorwork may have helped to keep the bottom edge from rolling up.


Since I seemed to be dealing with an extreme curler with my Raw Tee, I completed two rows of purling before my I-Cord. You have probably already guessed … it didn’t work. It was better, but still rolling.
4. Use a Few Purl-Only Rows, Followed by Stockinette for a Slight Roll
My next attempt was to use the same purl row technique, but do a few in knit-only (stockinette), before THEN binding off, as per the advice of another lovely viewer (This time the ever-helpful Julie.) I tried purling three rows, then working several in stockinette, followed by a regular bind-off. It didn’t look like the I-cord would, but I could’ve lived with it if it wouldn’t roll. Sigh. Still no cigar.
My thoughts on using purl-only rows: It does work, just not with this flowy, Lindy Chain. I have used that trick before and know many who use it before an intentional roll-neck or rolled cuff to keep things from rolling too crazily. So stick it in your toolbox!
Ditch the I-Cord Altogether
No one says you have to use an I-cord. Since the I-Cord didn’t seem to stop my rolling edge, I decided to just lose that bind-off. It is such a pain to rip out and my yarn was starting to shred at this point from incessant ripping. I-cord may seem most fitting, as in my case, but the edge you can live with is the best edge for you!
5. Let It Roll! But Reverse the Direction of the Curl.
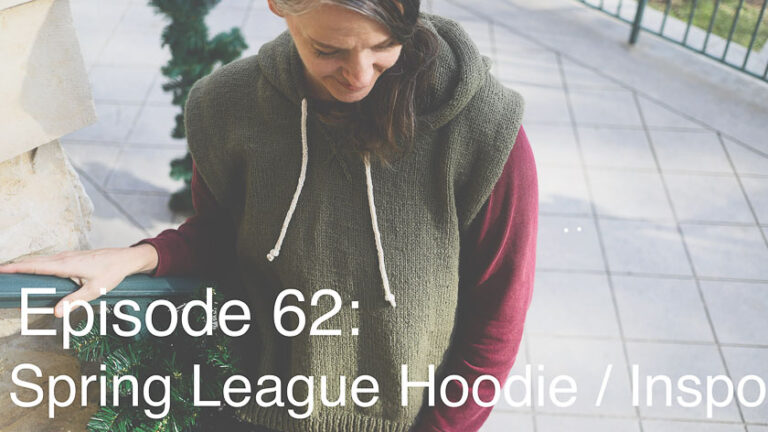
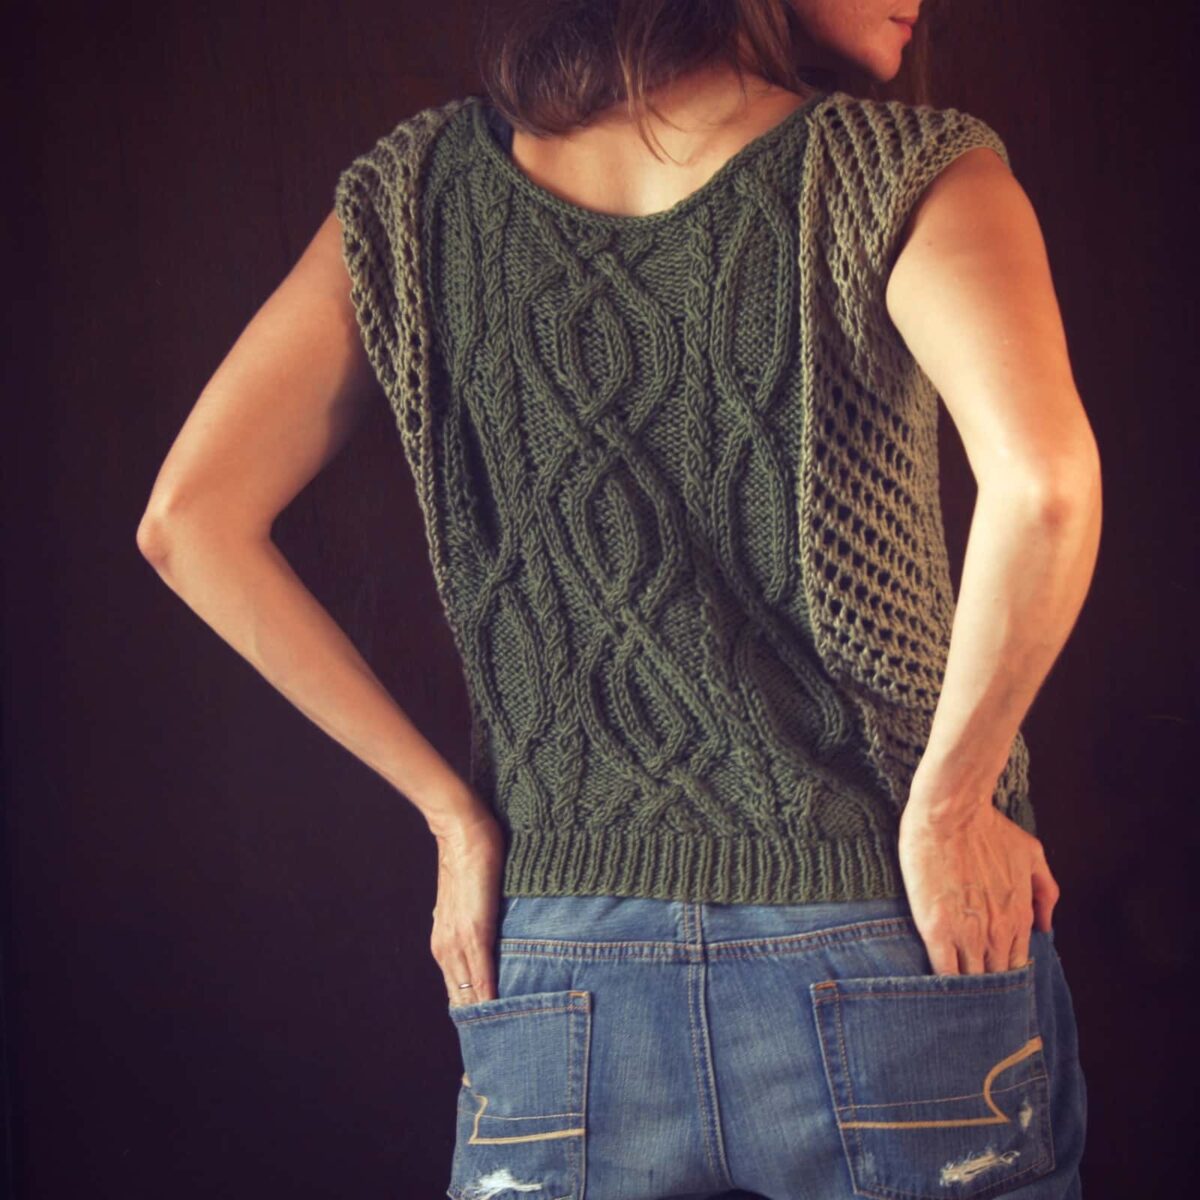
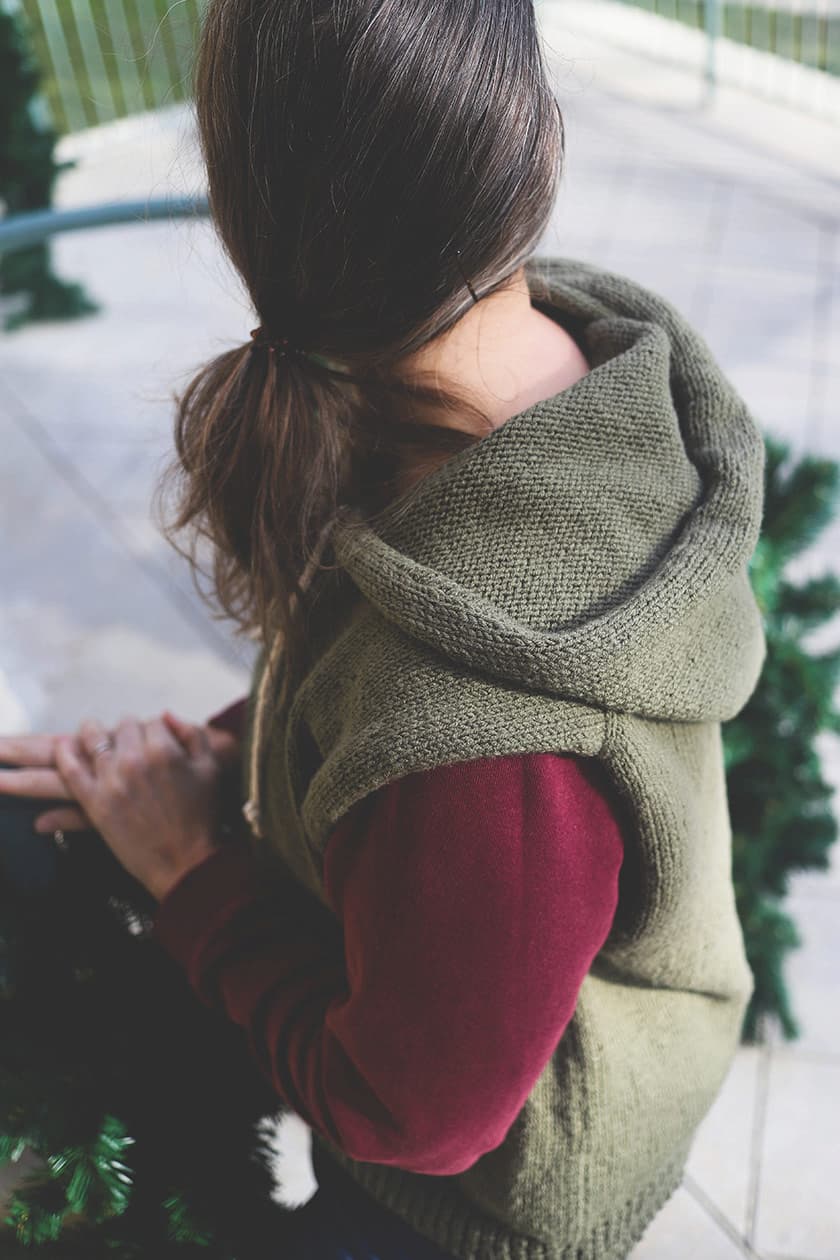
My next experiment was to just let the edge roll. This time, I worked four or five purl rows, enough to encourage my edge to curl under, rather than upward. I figured the curling couldn’t be too extreme if it was on the underside of the sweater, much like the sleeves on my Spring Leauge Sleeveless Hoodie.
So I did exactly this: five rows of reverse stockinette, followed by an immediate regular bind-off. (I even turned my work inside out so that I was knitting stockinette on the inside to make this trial easier.)
You’ll never believe what happened! Just kidding, you will — it bombed. I think my hoodie was an acrylic worsted weight yarn and the edge that curled on it was a side edge, not a bottom edge.
My verdict on “controlled edge rolling”: This worked better for me when it was the sides of the stitches that were rolling, not the top or bottom. Also, sleeves behave differently than larger openings due to less surface area. Where letting sleeves curl under, especially on a sleeveless top, looks cool, it just looked bunchy and weird on my Raw-Tee hem.
Wait! Don’t Let My Failures Deter You.
At this point, you may be wondering why you are still reading a blog post, besides the fact that it is 2023 and blogger is an abandoned wasteland. I am also, obviously, not an expert in finishing knitwear edges. True, but hear me out.
These are all techniques you will see if you Google how to stop an edge from rolling. You will see them presented as perfect answers, and you probably won’t see this many in one place.
I am opening my very battered toolkit for you here by putting them all down in one place. Let my exploits serve to guide your selection of non-rolling edges. Why not learn from my knitting failures? Somebody really should. So read on with confidence that you will undoubtedly fare better than me.
Also, I just need a place to put these ideas so I can find them later, if a hard drive melts down. 🙂
Next, I Tried Various Foldover Stockinette Edgings
Nothing creates a more satisfying edge on stockinette than a foldover. I adore the very simple, but polished look of my Julia Sweater that has this kind of sleeve and body edge finishing. It is a guaranteed non-roll.
6. Knit Double the Amount of Edge Stitches, Bind Off, Fold Under, Then Seam
For my Julia Sweater, I knit eight rounds of stockinette, then bound them off. Once my sweater pieces were sewn together I folded those stockinette edges in half and, from the wrong side, whipstitched each bind-off stitch to its corresponding stitch at the top of the stockinette edging. It produced a nice, thick edge that actually looked polished on a big, oversized sweater — easy peasy.
Sometimes a pattern will have you knit half of the foldover stitches, then purl one row (for a crisp, clean folding point) before knitting the other half of your edging rows.
If You want to get really fancy, you can combine your bind-off round with your whipstitch seaming:
- Just knit each live stitch of your last round together with a leg of its corresponding stitch at the beginning of the stockinette edging. You can find this corresponding stitch with your right needle and place it next to your live stitch on the left needle then knit them together.
- Repeat the same process with the next live stitch and its corresponding stitch at the beginning of the edging. You now have two stitches on your right needle.
- Slip the first over the second and repeat the whole process until all of your stitches have been folded under and bound off.

My thoughts on the folded “hem”: The folded hem offers security to a knitter in an increasingly insecure world. It’s tops! Buuuuut it seemed to clash with the exposed seam details of my Raw-Tee, so I didn’t even try it. I am throwing it into the mix, however, to give you one of the most reliable no-roll edges in existence.
7. A Reverse Stockinette Mini-Foldover Edge Mimics I-Cord Without Rolling
I was stuck on the idea of a foldover edge and wanted to give it a desperate try by making it mimic the look of an I-cord by using reverse stockinette stitches. Folding these, in theory, should work just as well as stockinette on my Julia sweater and would be the perfect solution to my need for a raw-looking edge. Theoretically.
I wanted to keep this foldover edge lightweight so I didn’t knit the number of rows I normally would for a stockinette foldover. I worked this foldover and bind-off the same as a stockinette foldover edge:
- Knit four rounds of purl-only.
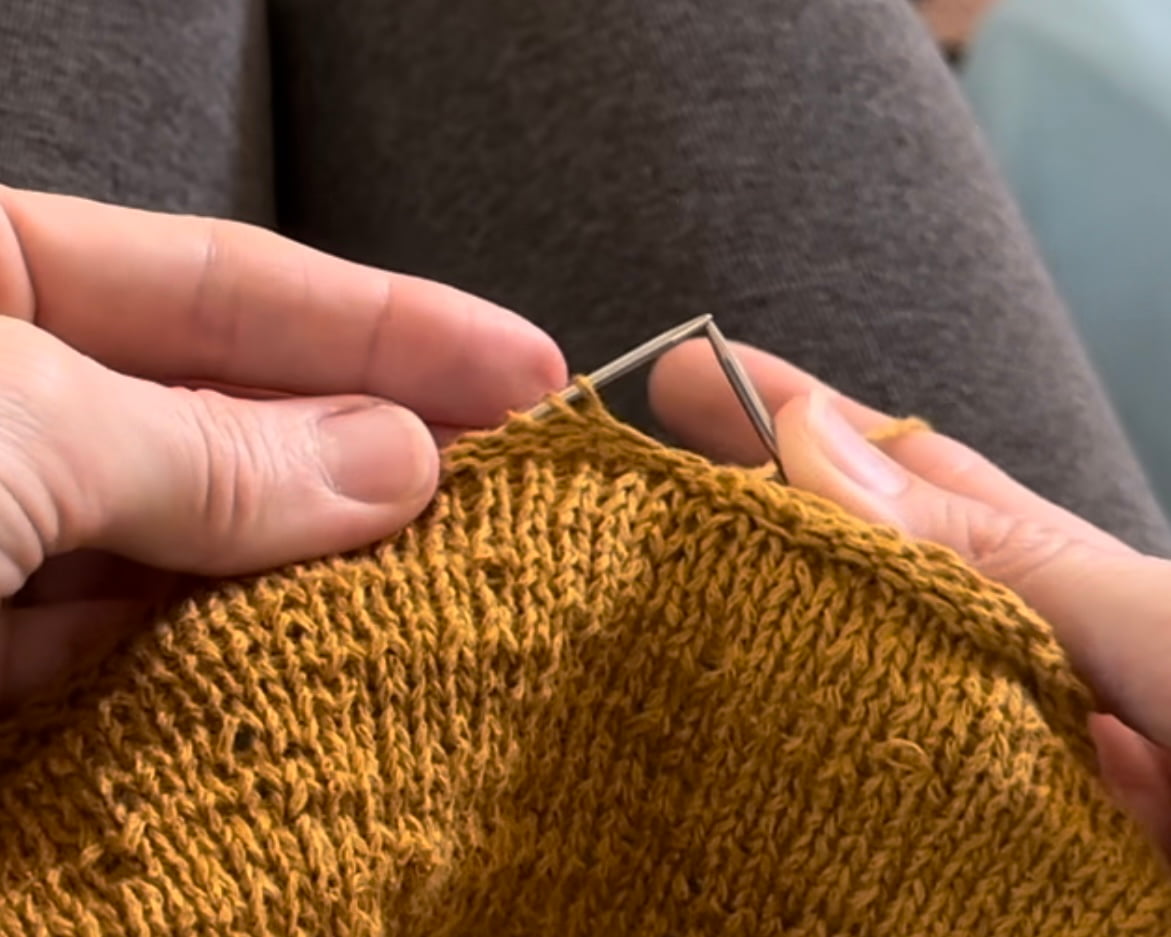
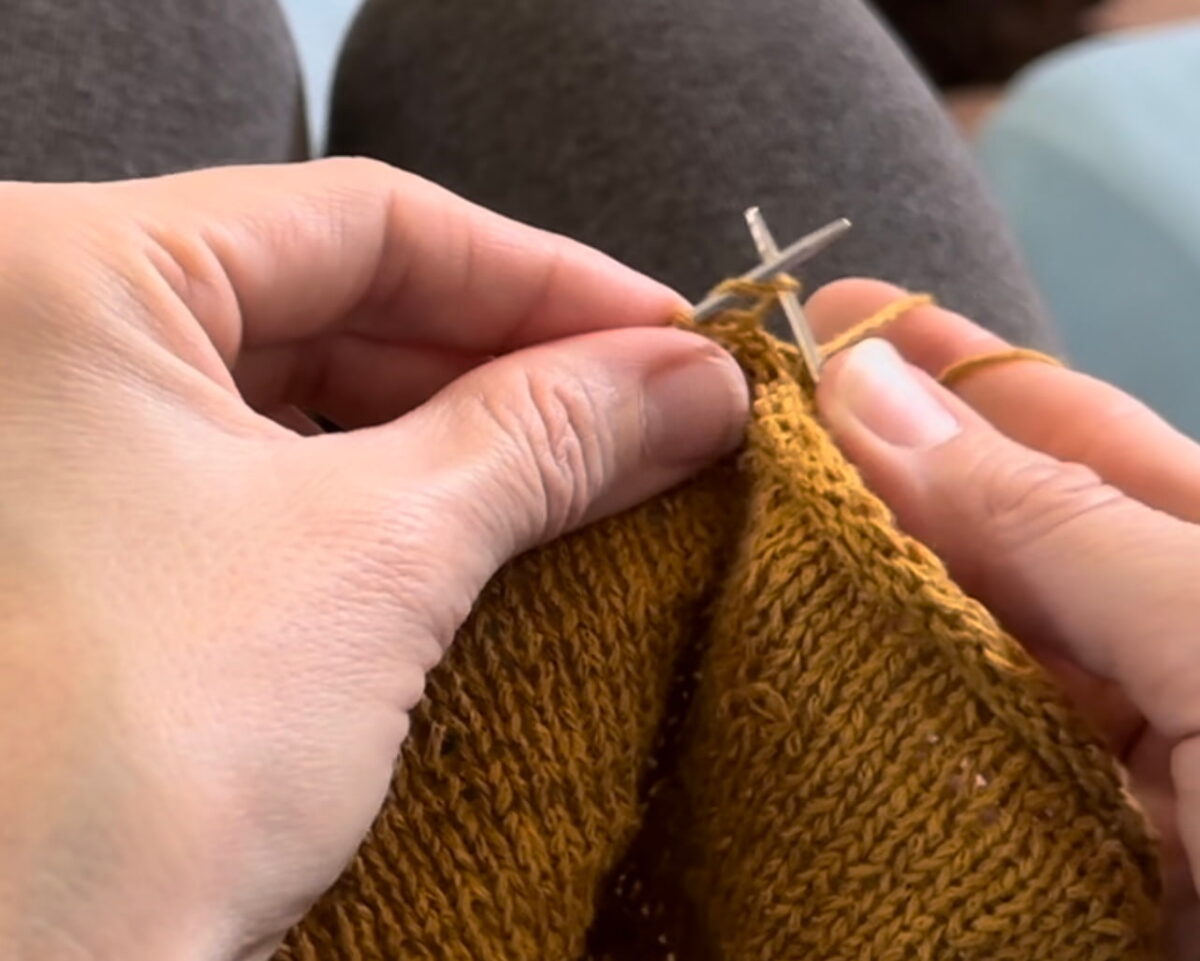
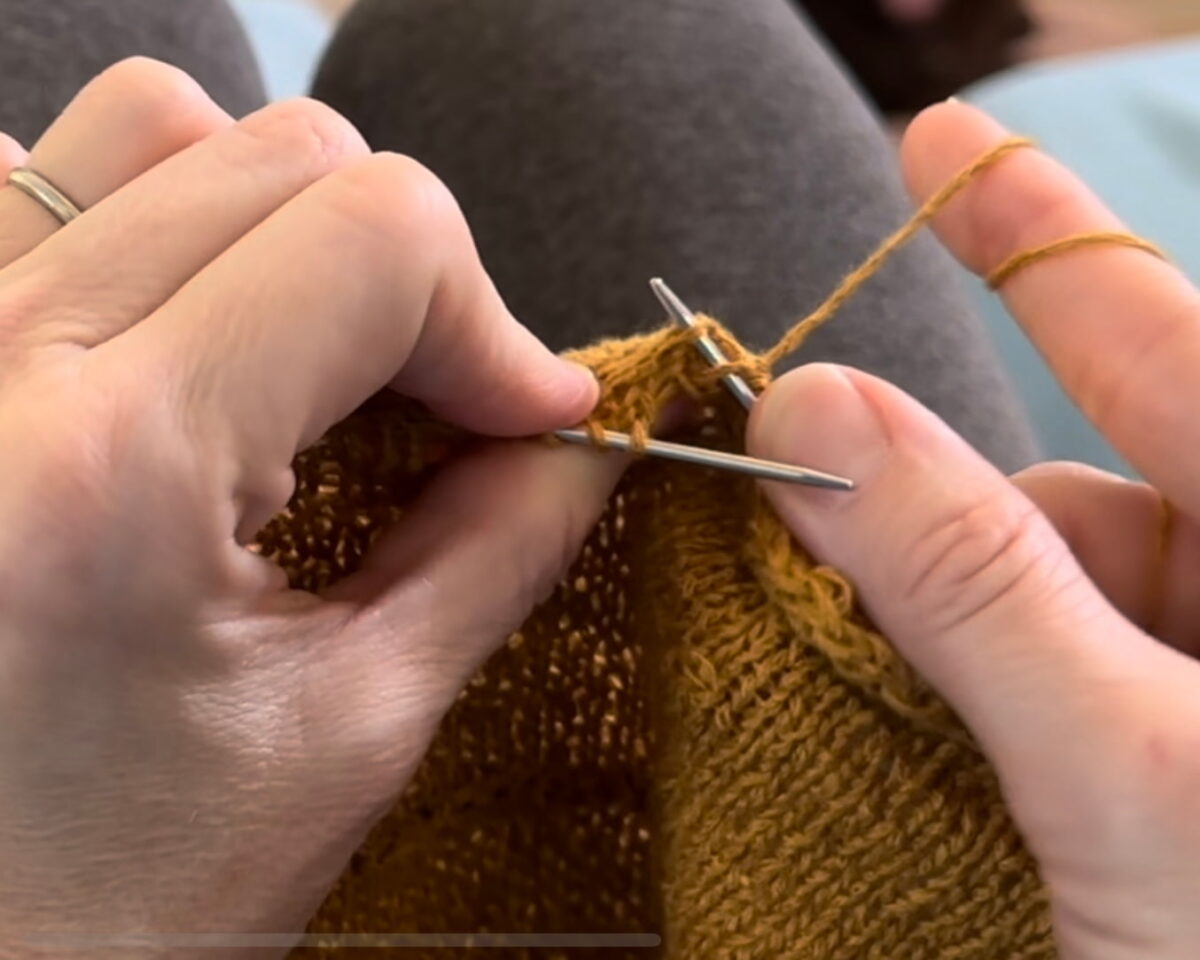
- On the next round, leave your stitch (image 1 below) on the left needle then use the right needle to to lift a leg of the corresponding stitch three rows beneath your working stitch (image 2) onto the left needle beside it (image 3).
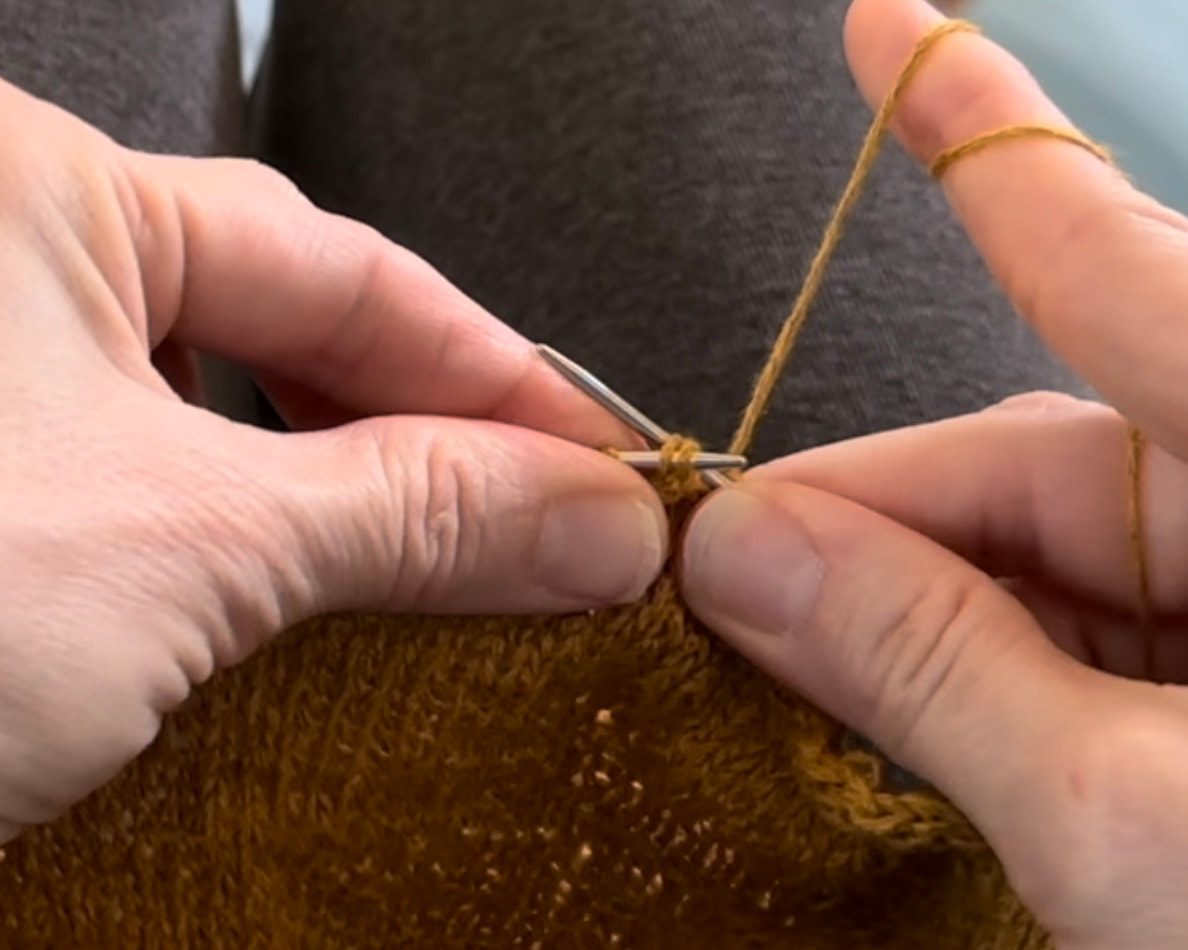
- Knit these two stitches together to “fold over” the edge.
- I repeated this process with the next stitch then passed the first stitch on the right needle over it to bind off that first stitch.
- I did the same for each of my edge stitches all the way around the sweater so that I was folding the edge over as I was binding off.
Yes, it was incredibly tedious and, no, it didn’t work. It was too short a folded edge to add the necessary weight to keep it from rolling. I scrapped it, but this may be the right edge for you, particularly if you’re working with heavier yarn that responds to blocking, like wool.
Whatever. I ripped it out. Thankfully, I’d only tried this halfway around the sweater edge. Halfway around should be enough of the circumference to tell if the edge will roll or if it will lay flat. Why obsess and give myself more work, with all the ripping back and cursing?
My thoughts on a reverse stockinette foldover edge: If I hadn’t worried about keeping the folded stitches small, like I-cord, this would have worked. At that point, it would look similar to garter stitch, which would be easier, but be nice a thick.
This, however, is a delicate weight tee. I’d rather have a thin, raw-looking edge that rolls than a chinky folded edge. But that’s just me and just with this project. So I moved on to my next bright idea.
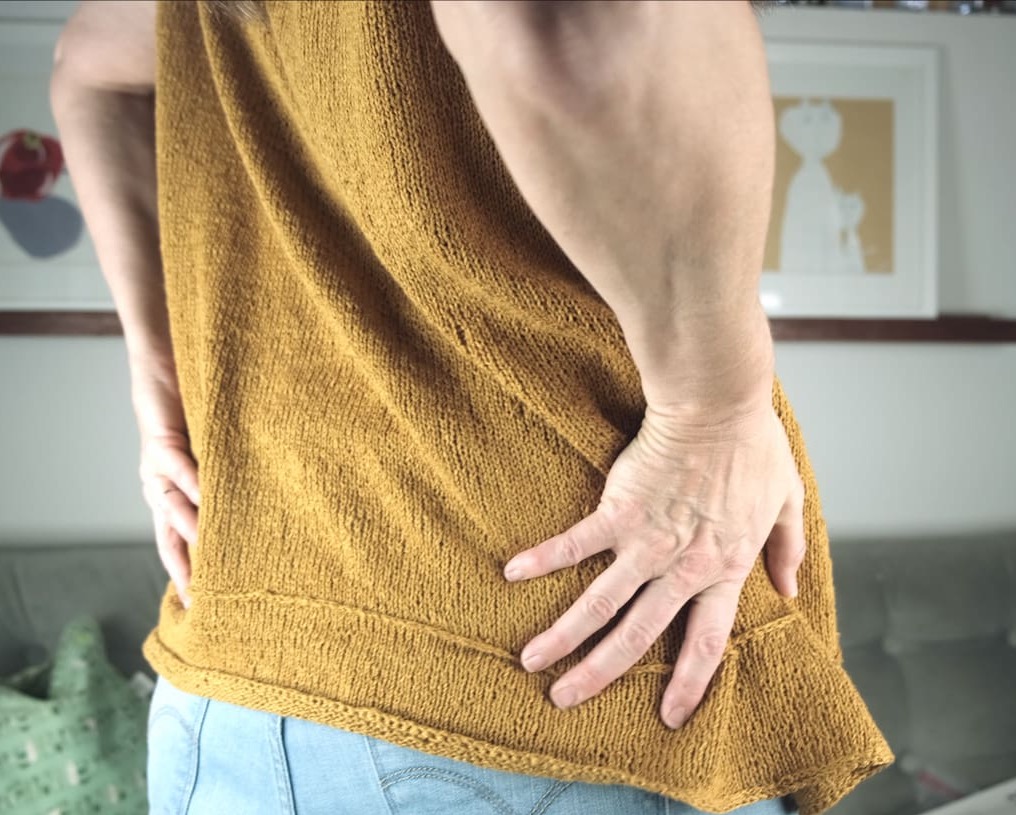
8. Cop-Out With Ribbing. It Works!
Ribbing works — of course — and I was so over this knit that I decided to just do the bare minimum of ribbing rows needed to counteract edge rolling and still be unobtrusive. Remember ribbing isn’t really in keeping with the look of this knit, so this was a major compromise.
I tried it, but even my husband weighed in and said the rolly edges looked better than a ribbed edge on this particular top. The ribbing stuck out like a sore thumb. Lovely imagery. Believe it or not, I ripped the edge out again.
The results of my ribbed edge: It worked great and will definitely work for you. If an inch or so of ribbing seems out of place on your sweater, as it did with my Raw-Tee, try varying the depth of your ribbing to see if it looks better. One knitter did this with the Raw-Tee and it actually looked more intentional with three inches of ribbing than it would have with the 3/4 to 1 inch that I tried.
At this point, things feel self-sabotaging. I needed to get this tee off my needles because I was starting to wonder if I’d gone mad and only wanted to knit edgings now.
9. Work Your Stretchy Bind-Off the Wrong Way, On Purpose
Next up was a suggestion from Effie to work Jeny’s Surprisingly Stretchy Bind-off from the wrong side. She thought the look this bind-off gives when worked inside out, might mimic I-Cord and be enough to counteract the roll.
I did try this partway around the bottom edge. I could tell it would still roll so I ripped it out to try method number 10, which I’d already worked on a sleeve and it seemed to roll less than the others.
My thoughts on working the stretchy bind-off inside out: I do think this would work better with heavier-weight wool or on a cuff, where there’s less area to roll.
10. Add Structure by Working Stitches With Those From Beneath and At an Angle.
Wow, ten fixes. I finally settled on this unusual and nameless edge method. I got this tip from Eunice via Rita Koch’s Instagram feed. It was originally meant for keeping a cast on edge straight, but Rita mentioned in the comments that it could work for a bind-off edge too.
Remember that this method comes before a bind-off and doesn’t fold the work over, just creates a thick texture before binding off that should be substantial enough to keep the fabric from curling.
So here’s my best explanation of this method of adding structure to a stockinette edge:
- Slip a stitch knitwise to the right needle.
- Use the right needle to lift the purl bump of a stitch two rows directly beneath the next stitch on the left needle and knit it.
- Pass the slipped stitch over this stitch you just worked.
- Repeat this process of slipping stitches over previously worked stitches from below and to the side all the way around your sweater. You should have the same stitch count as before but your work will have a thick, substantial texture.
- Next round: Bind off as you normally would.
You might want to use Jeny’s Surprisingly Stretchy Bind-Off for this, but I was way beyond DONE with this sweater, so I just bound off in pattern and threw it across the room.
Later, I steam-blocked my Raw-Tee and it was perfect. I’m relieved and also glad I tried all of these because it felt good to have some of you help me out and I wanted to try your recommendations. Now they’re all typed up for posterity. You can see me testing its “rollability” in Episode 77: Trauma Trigger Knits.
By the way, I’m sure my issues were due to my abilities and yarn choice, not the pattern. Lone Kjeldson is a very skilled designer and has so many designs I covet.
A Few Untested Options In Case You’re Desperate
Here are a few things I considered when I was straining my eyes and ripping back my now splitty Lindy Chainy in the wee hours of the night:
11. Add a Lace Border
If a section of lace is added to your bind-off and worked perpendicular to your edging, it should really help with the roll.
12. Purl a Row Then Work Garter Stitch
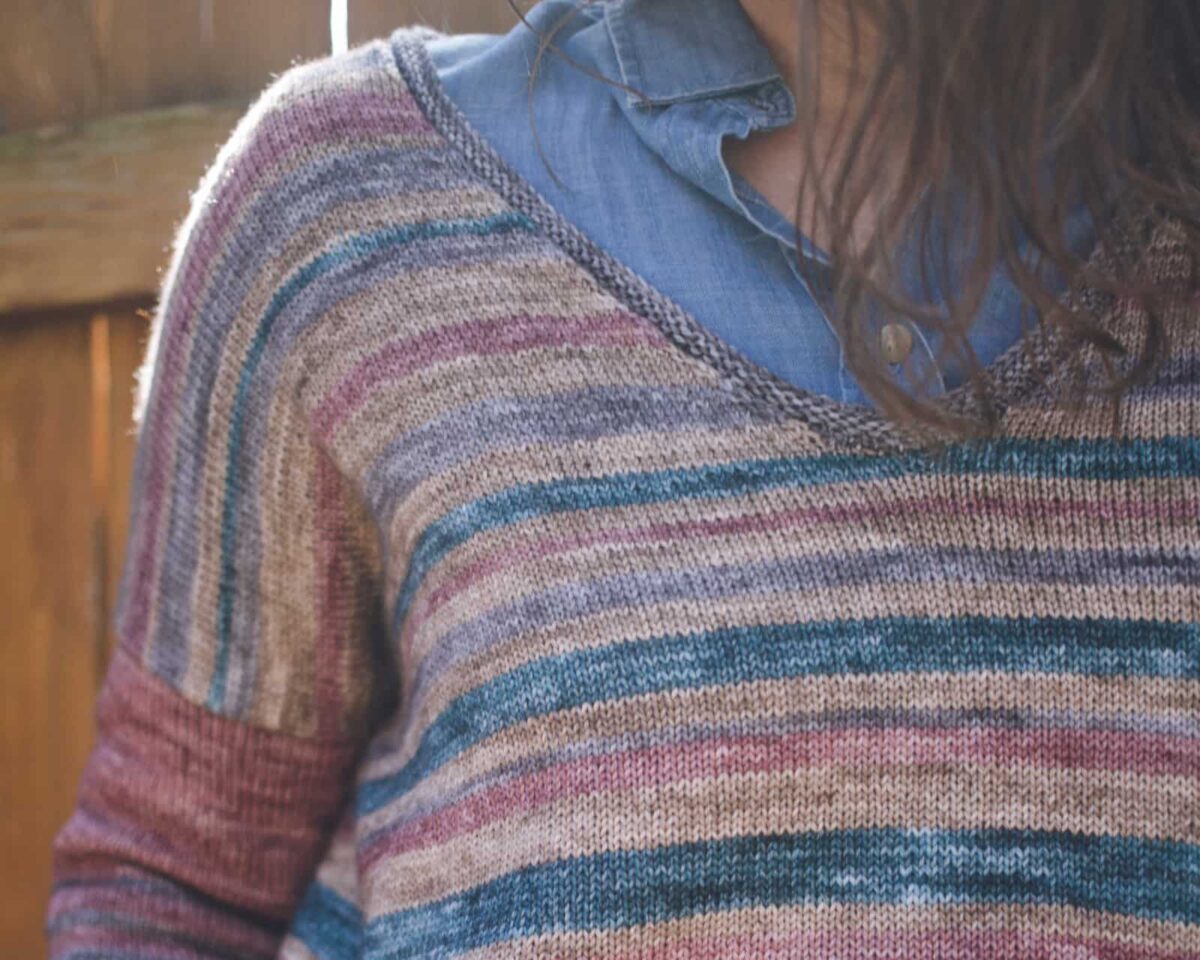
Begin your garter segment with a purl row then work a knit row to begin your garter stitch until you can tell the edge is structured enough to not curl. Garter stitch is about as safe as ribbing and the foldover hem. You can see this effect in the neckline of my A Hint of Summer Sweater.
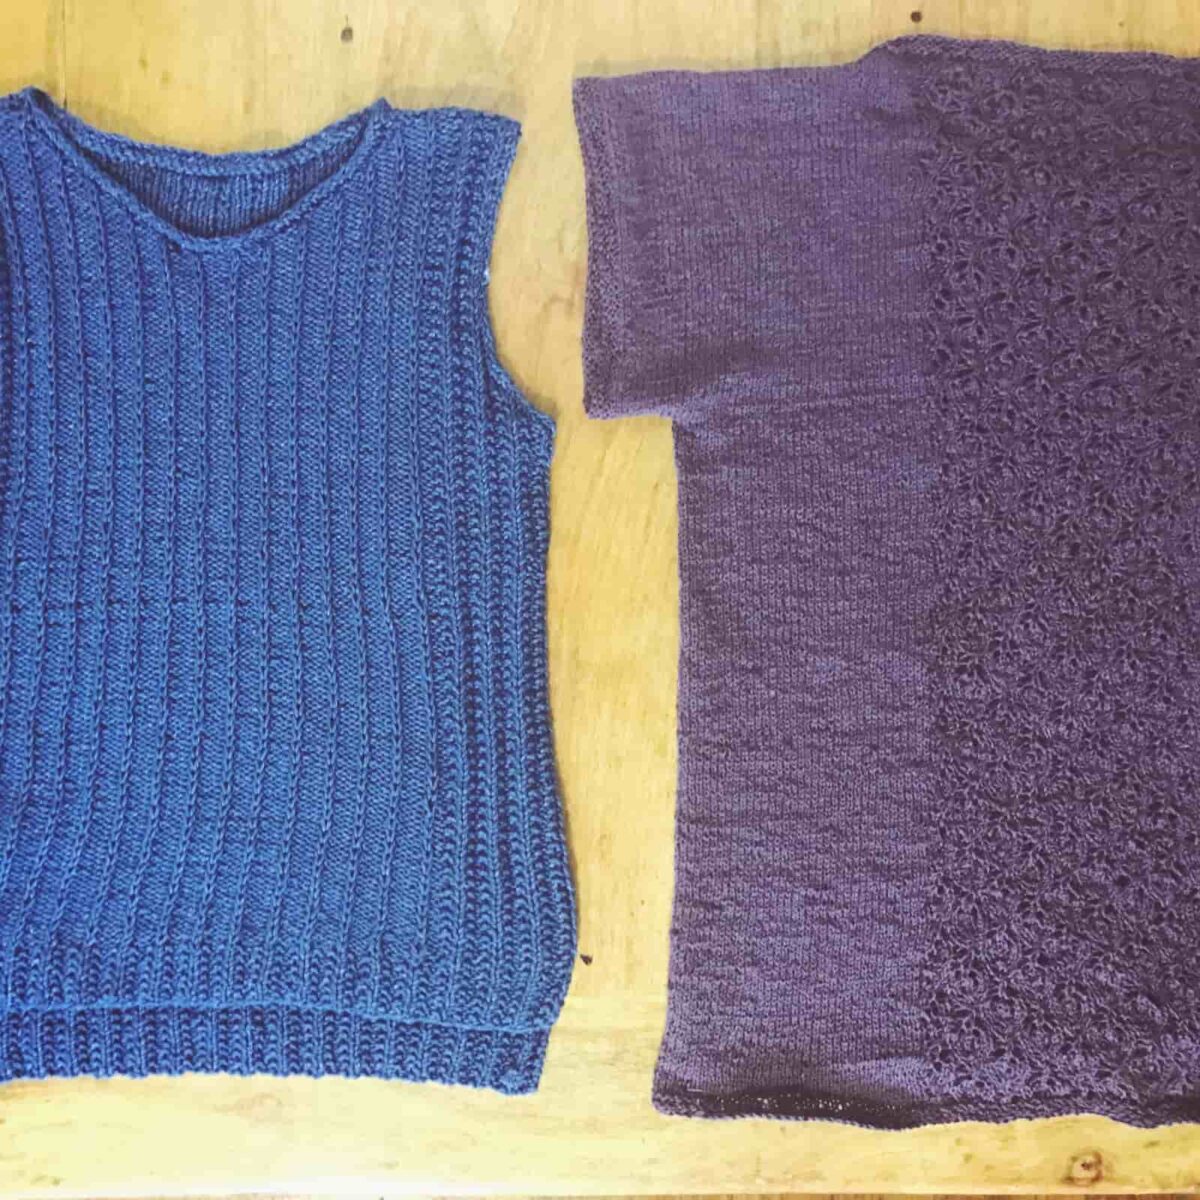
I also used this technique for the edges of my Kinton Tee (below, right) which was also knit in Lindy Chain. It does not have as much ease built into it, but I think the short rows at the bottom may have also discouraged curling. For whatever reason, I had no trouble with rolling on that tee.
You Have Everything You Need To Not Be Like Me
This is a cautionary tale, my friends. Learn from me. Choose from any of these non-roll edges, but if the first two don’t work, just use ribbing because life is short and your queue is long! It’s the most popular of sweater edges for a reason!