DIY Tufting Comfort Works Slipcovers for my Ikea Sofa
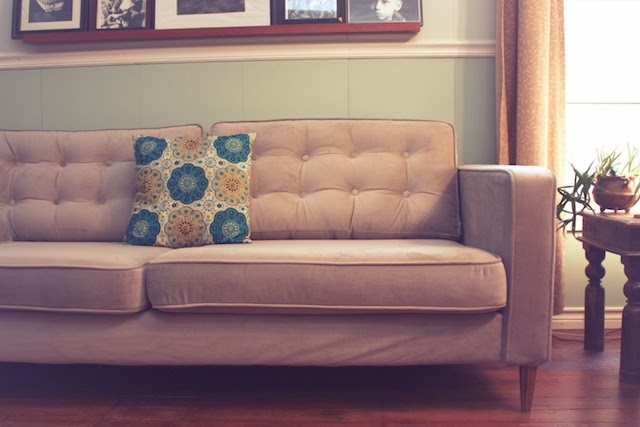
This story ends with an incredible, tufted, velvet mid-century styled sofa.
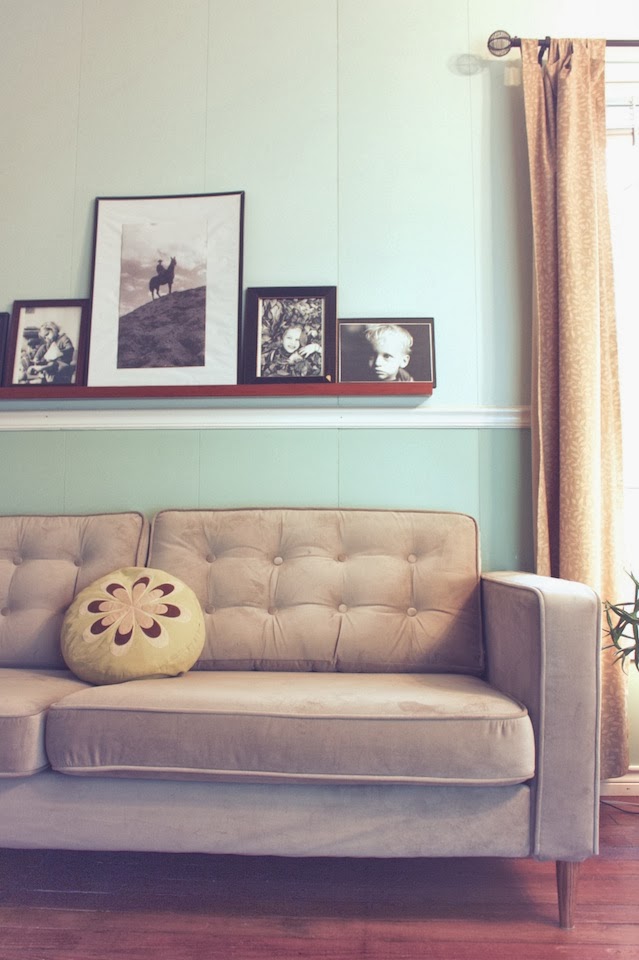
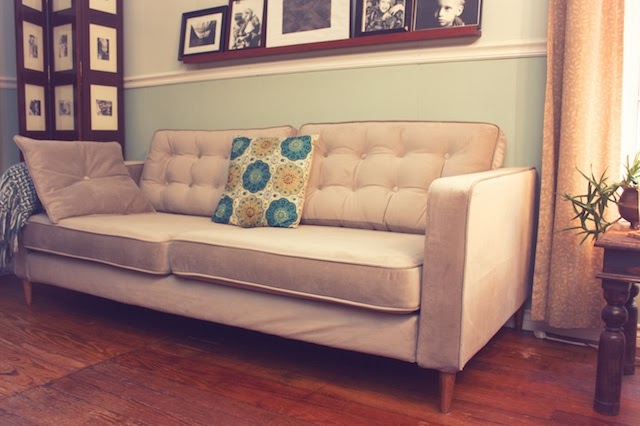
However, it begins with a giant Ikea scratching post.
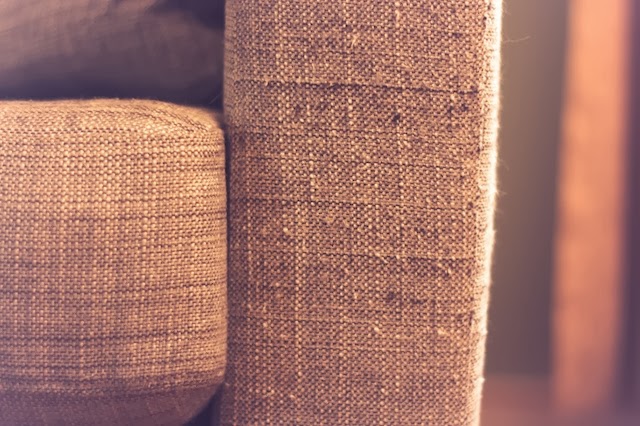

Remember when I decided, on a whim, to buy an Ikea sofa and tuft it for a more tailored look? You may also remember that the grey fabric, with little black flecks, was not the velvet I’d originally wanted but a “sturdy” compromise we hoped would be off-putting to our cat. Well it wasn’t. She loved to grab those nubby little flecks with her claws. We needed replacement Ikea sofa covers.
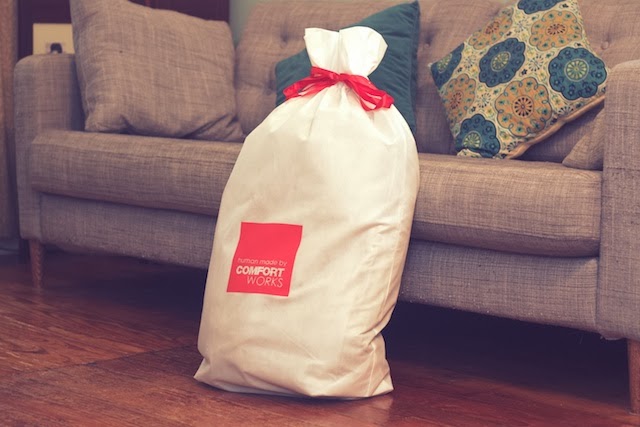
When I was contacted by Rachel of Comfort Works, a company specializing in handmade Ikea and Pottery Barn slipcovers, about reviewing a slip cover and tufting kit, I was excited to see grey velvet as an option. I didn’t think velvet was a wise choice for a pet owner, but it wouldn’t hurt to just get a sample. I also ordered samples that included several extremely durable fabrics from their Kino line, some linen and cotton blends, a really cool floral, and leather.
Those little samples were put to the test. I rubbed them back and forth over my bewildered pets, set cups of hot coffee and hot plates on the velvet, smudged slightly oily fingers on them to see how easily they picked up oily stains. I had heard some velvet sofas could be ruined by having anything warm set on them. However, my velvet sample fared no worse then the others. They all held up very well.
In fact, the more I read up on couches that deter cats, the more I saw a consensus in the cat owner community that leather is the best route, with velvet a close second. Now Comfort Works makes a really nice leather cover for the Karlstad sofa, but the sheen of the leather was different than that of my leather chair, so I passed on the leather and ordered the velvet.
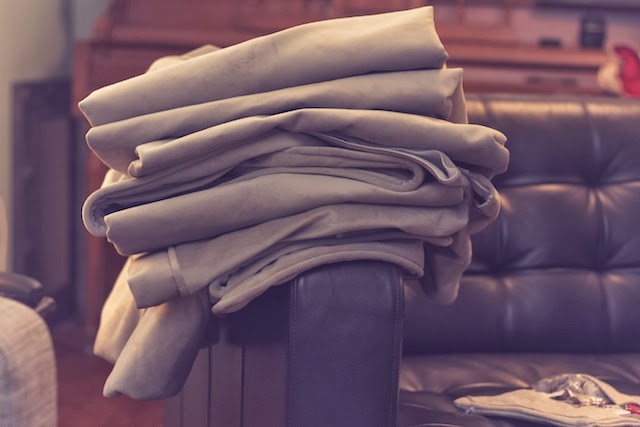
Rachel suggested thick piping on the cushions- yes! She even threw in some throw pillow covers for our Ikea throw pillows. When they arrived, they were neatly folded, yet stretched over our sofa with no need for pressing.

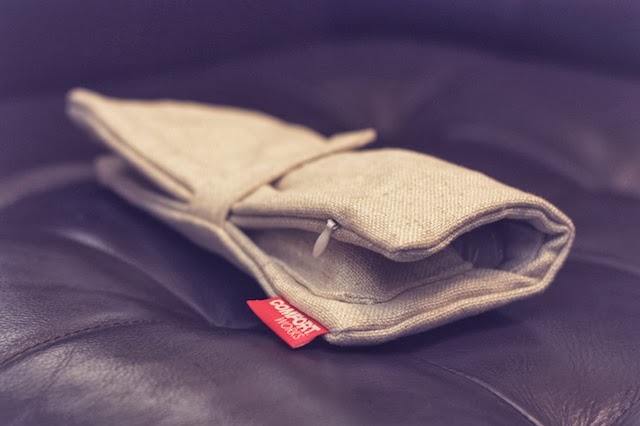
At this point I will say that the tufting kit is a new offering from Comfort Works and part of the review process is to help them identify ways to make their products more user friendly. So when the first set of buttons could not withstand the rigors of my tufting, Rachel was quick to source new ones with metal backing that are working just great. I have included a tufting photo tutorial at the end of this post to show just how simple it is.
We also had some fit issues with our arm covers, particularly the left arm cover. I sent a couple of phone pics to Rachel and she had replacements mailed to us quickly. The right arm replacement was still too snug, but since the first cover for that one wasn’t a bad fit, we just kept it on. The second left arm cover did fit much better. So, overall, we are happy with the fit. It’s a much better fit than the original covers that came with the sofa.
I wasn’t worried about this snag in the plan, because 1) I didn’t pay for these, but also 2) I felt like Comfort Works’ customer service was really good and their shipping times were very quick for being overseas. At the moment, shipping is from $24- $35 unless you post a photo of your covered sofa to their Facebook page, in which case your shipping costs are refunded. Considering they are the best value in replacement Pottery Barn and Ikea slipcovers, I find the shipping to be very reasonable.

This velvet! I am in love. It’s been a few months now and it’s still looking brand new.
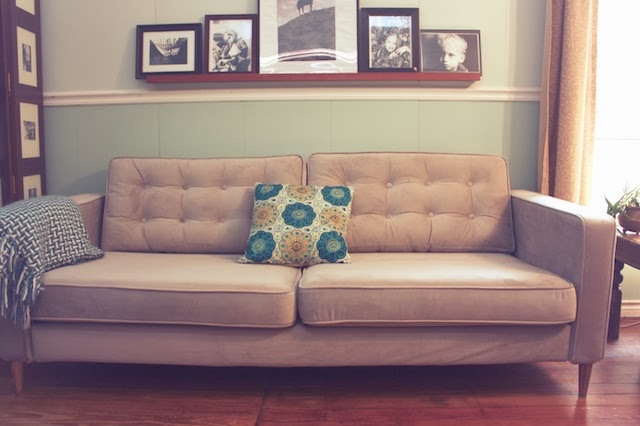
I don’t find that it picks up pet hair any more than any other sofa fabric and stains have brushed right off.

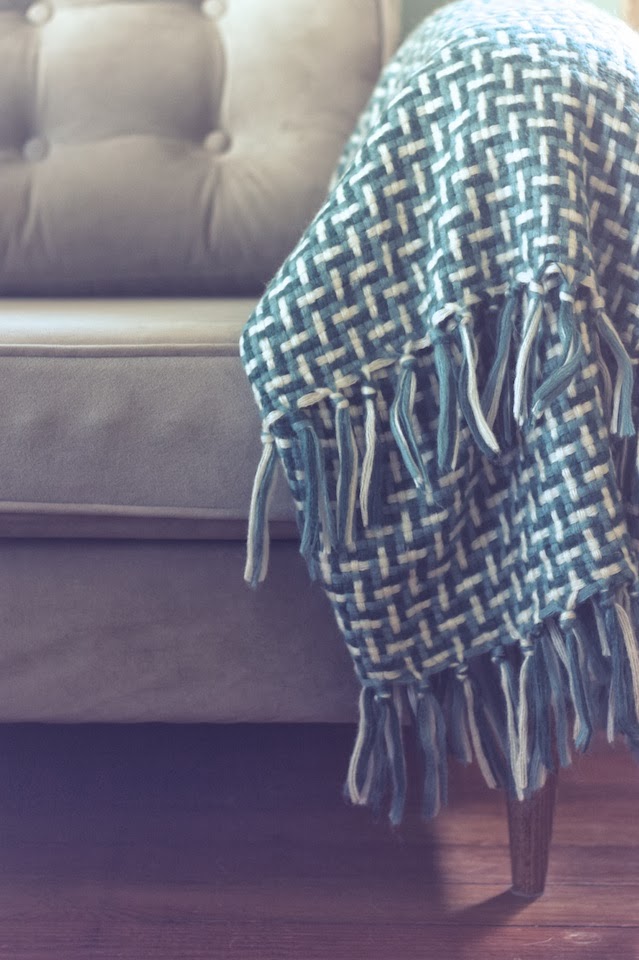
Of course, the moment of truth was when my cat first came sniffing at the new covers. I’m happy to say that she hates them. For a little insurance I keep a throw folded over the arms and she has refused to jump on them or sit by me ever since. Her shunning me when I’m on the couch is a small price to pay for nice furniture. I cannot believe all it took was velvet and a throw!
Would I do this again if it weren’t a product review? Yes, I would. Like I said, I really like the Augustine covers. There is no way I could get a better deal on couch covers that look like tailored upholstery. The velvet covers start at $294 without piping. I know of no better value in quality slip covers.
Now, my sofa is finally the sofa I have wanted for years! You can place orders for Ikea and Pottery Barn slipcovers on their site, but they will be happy to discuss custom cover options, too.
You can also find out more about the company on the Comfort Works blog and Facebook page.
How to Tuft your Comfort Works Slipcover:
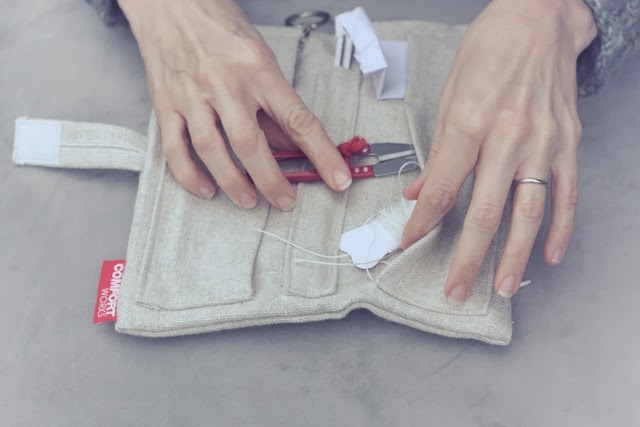
You’ll be running twine through the back sofa cushion, drawing a pair of buttons together from the front and back.
So first you’ll need to prepare the cushion:
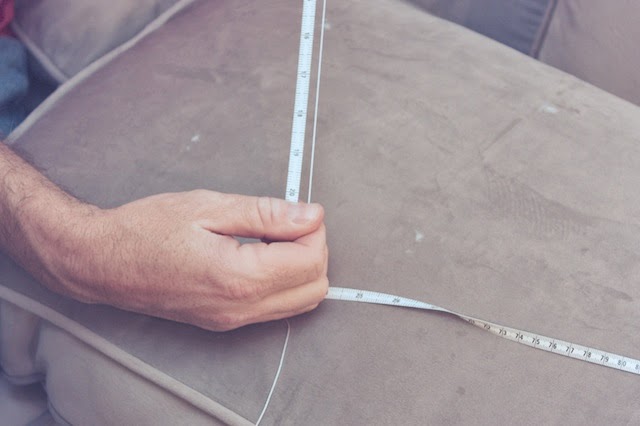
Using the tape measure, measure the cushions horizontally and vertically to decide where you want your buttons placed. For the Karlstad sofa, I wanted 2 rows of 4 buttons on each side of each back cushion. That’s 8 buttons per side, 16 for both sides, and 32 buttons total for the project.
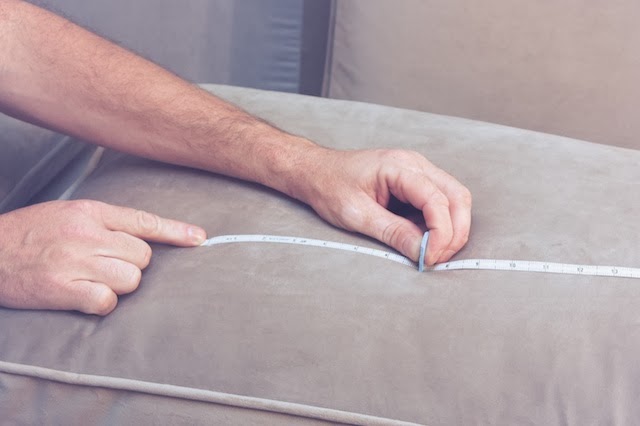
Use the chalk to lightly mark where you want the buttons placed. Do this for the corresponding buttons on the other side of the cushion.
Cut 20 inch lengths of twine for each button pair.
Attach the button by threading one end of the twine through a button, sliding the button halfway down the twine.
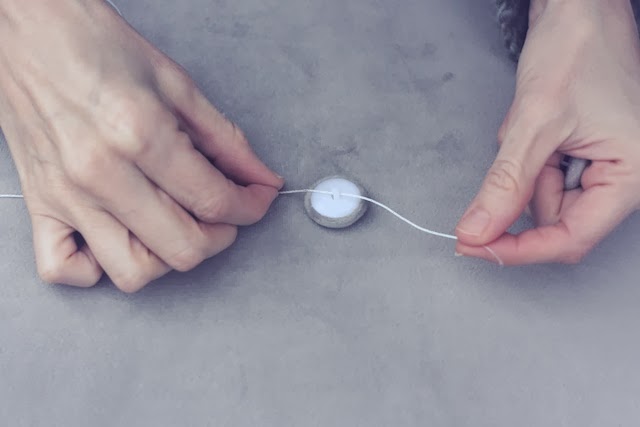
Then, bring both ends of the twine together and thread them both through the eye of the upholstery needle.
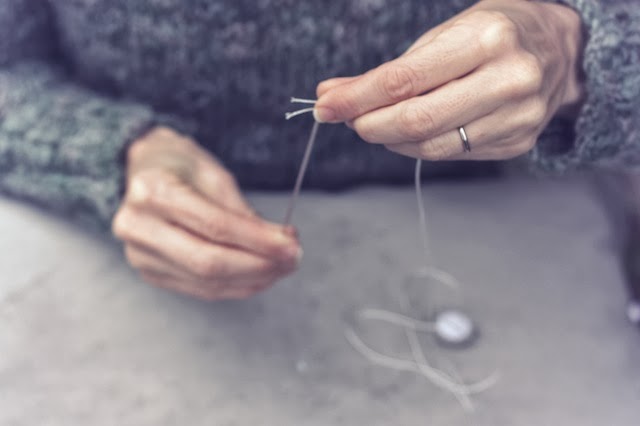
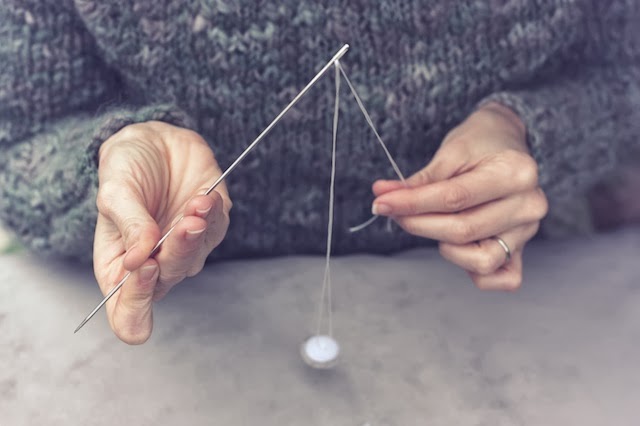
Now it’s time to push the needle through the cushion, aiming for the corresponding chalk mark on the opposite side. You may have to fish around for it a moment. Use your free hand to feel for the needle before it comes through to avoid making unnecessary holes in the fabric.
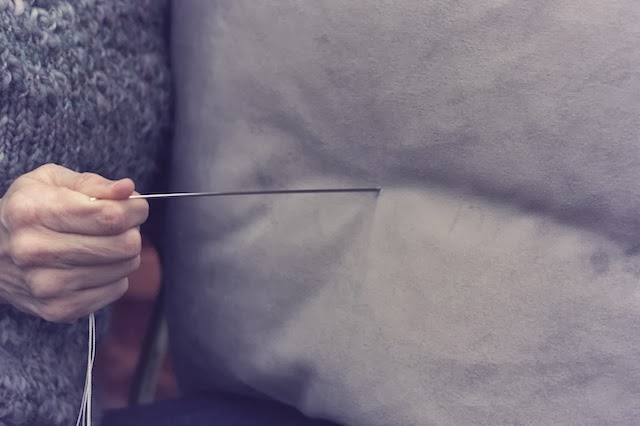
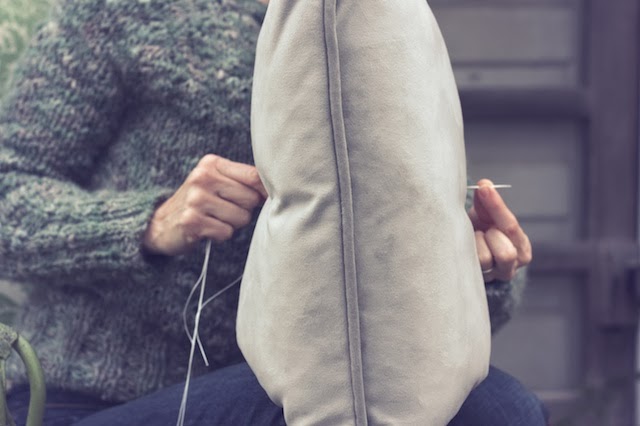
When the needle pokes through the other side, pull it all of the way through. Don’t be afraid. Once it’s out, grasp the ends of the twine for attaching the matching button.
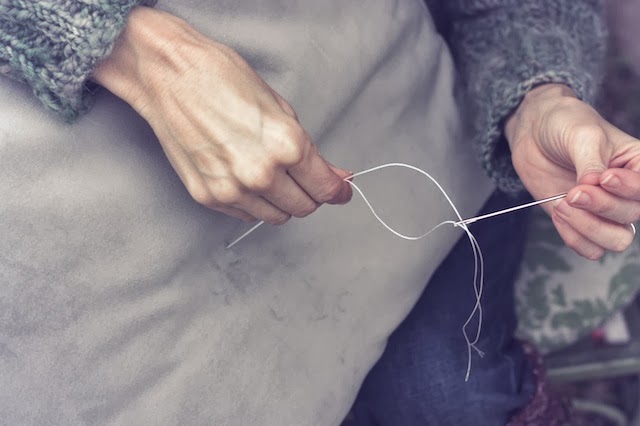
Attach the second button by threading only one end of the twine through the button in order to tie your slip knot.
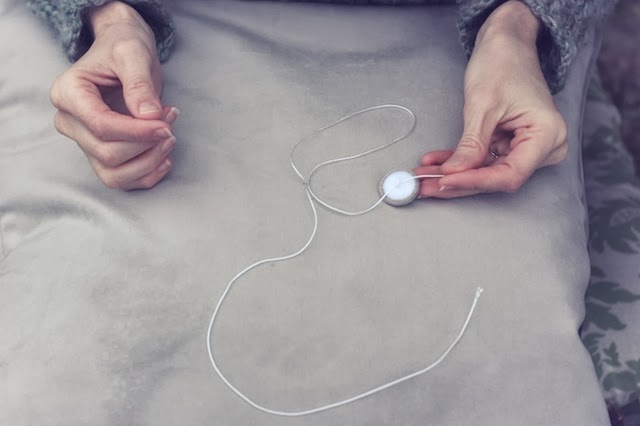
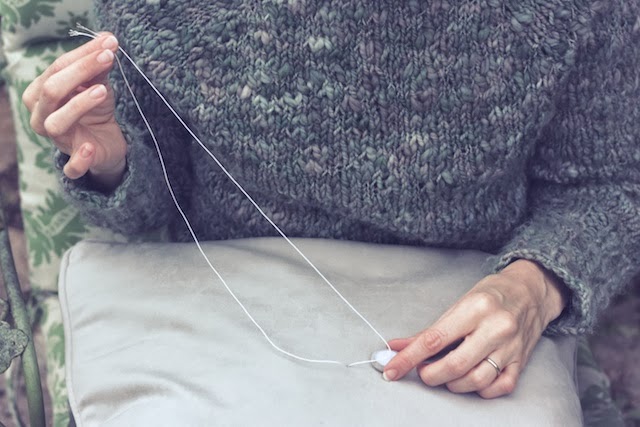
Create a slip knot with one end of the yarn to pull your buttons closer together by placing your finger between the ends of the twine strands.
Bring the end of the strand on the right around your finger. This is the strand that will be forming the slip knot.
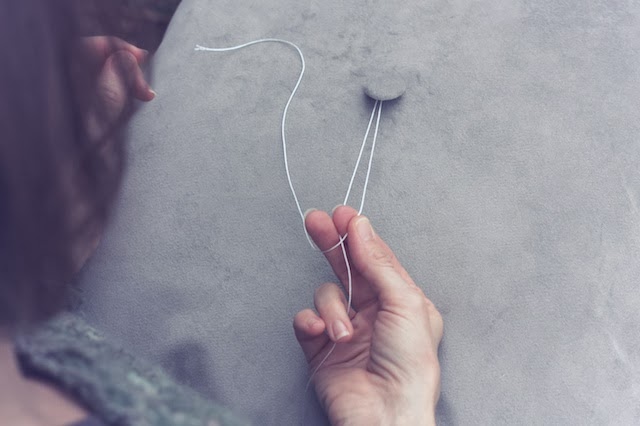
Now, using your left hand, run that end under and over both strands of twine, twice.
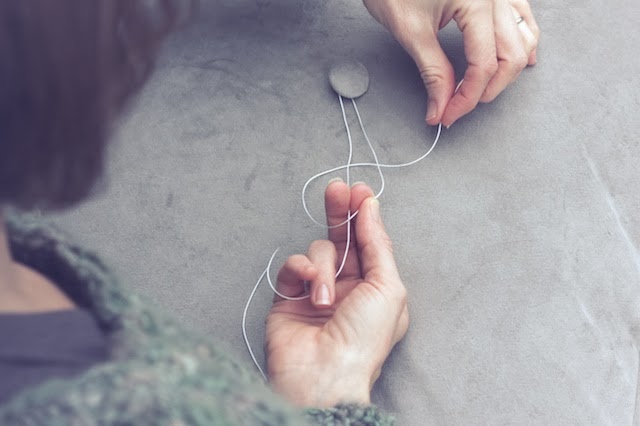
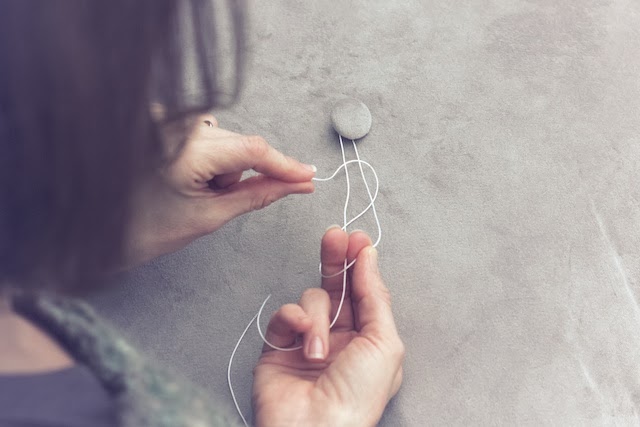
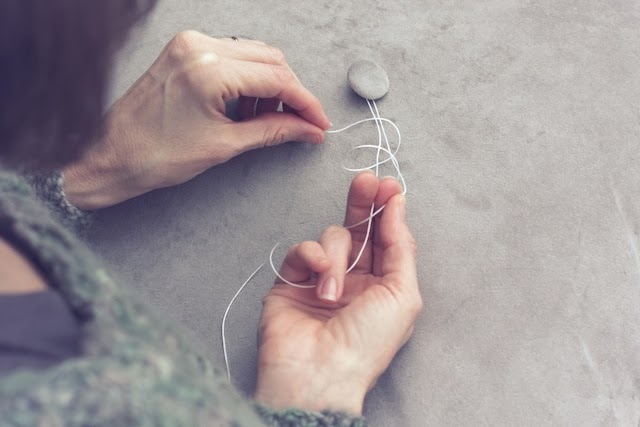
Then thread that end down, through the hole between the wrapped strands and your right forefinger.
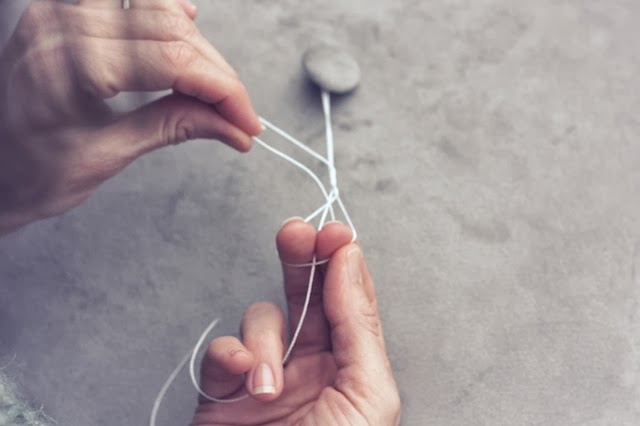
Pull both ends and you’ll feel the strand in your right hand sliding through the left, which is wrapped into the slip knot. Pulling this strand will draw your buttons together, creating the tuft. Give it a firm tug. The slip knot will hold your twine in place without your having to tie it off as you adjust the depth of the buttons.
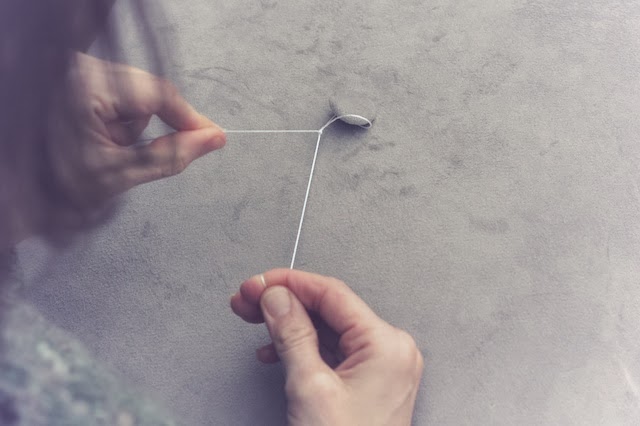
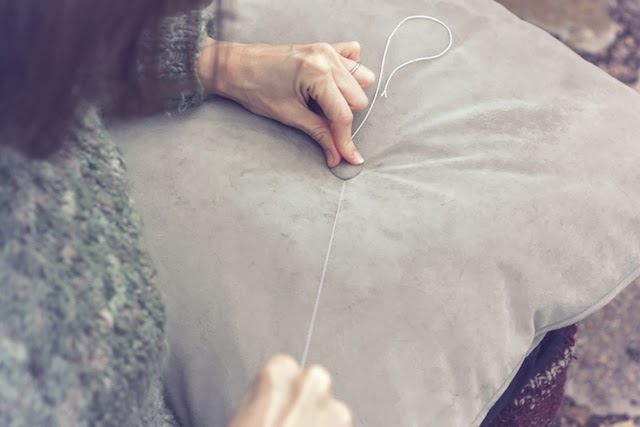
When you have your button at the right depth, you should be able to release the twine and it will hold it’s position until you’ve tufted the rest of the cushion.
Move onto the next pair of buttons, leaving the loose ends hanging from your button pairs until you are satisfied with the amount of “tuft” in your cushion. You can always go back and re-adjust any of the button depths as you work. I find that I am more hesitant with the first few buttons I tuft, but later I see they need to be pulled even tighter. Slip knots allow me to re-adjust.
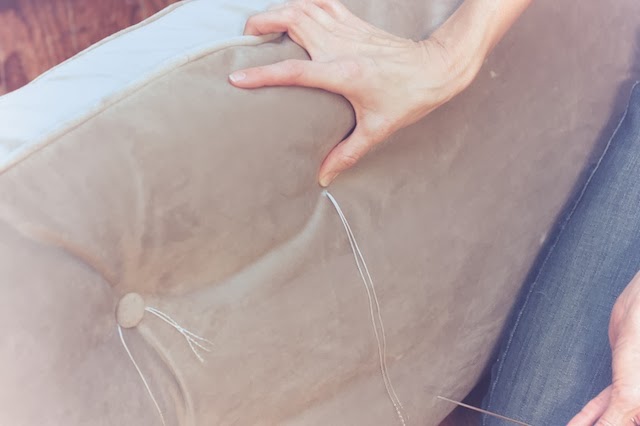
Secure the buttons with knots. Tie several tight knots with the yarn ends, pulling the knots until they are flush with the button hole.
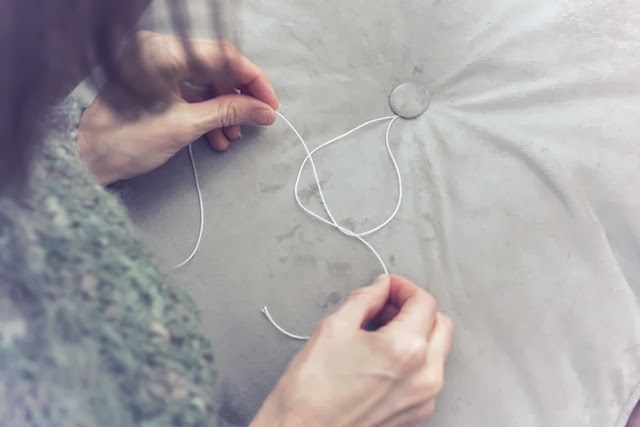
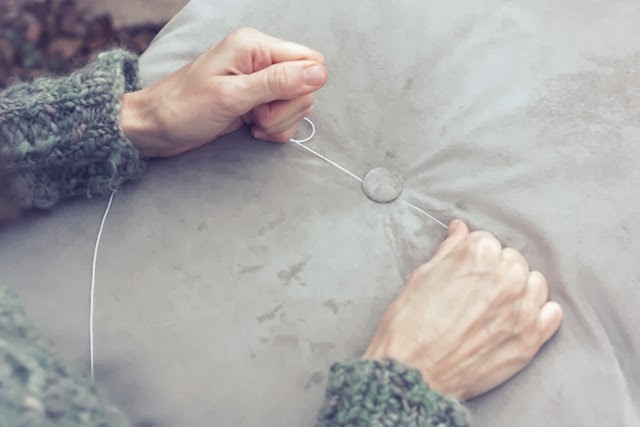
Snip the twine ends leaving about 1/4 inch.
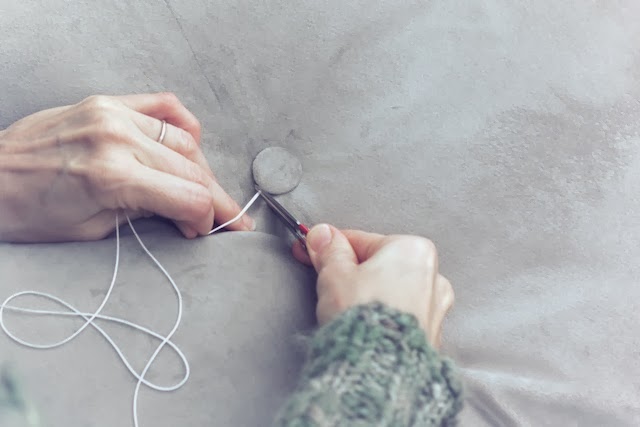
You can hide them beneath the edges of the buttons.
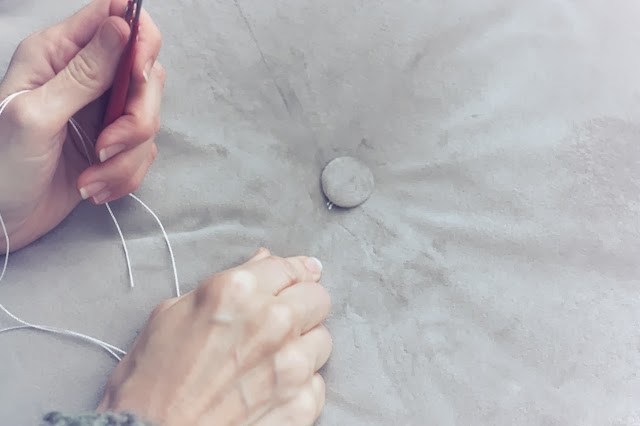
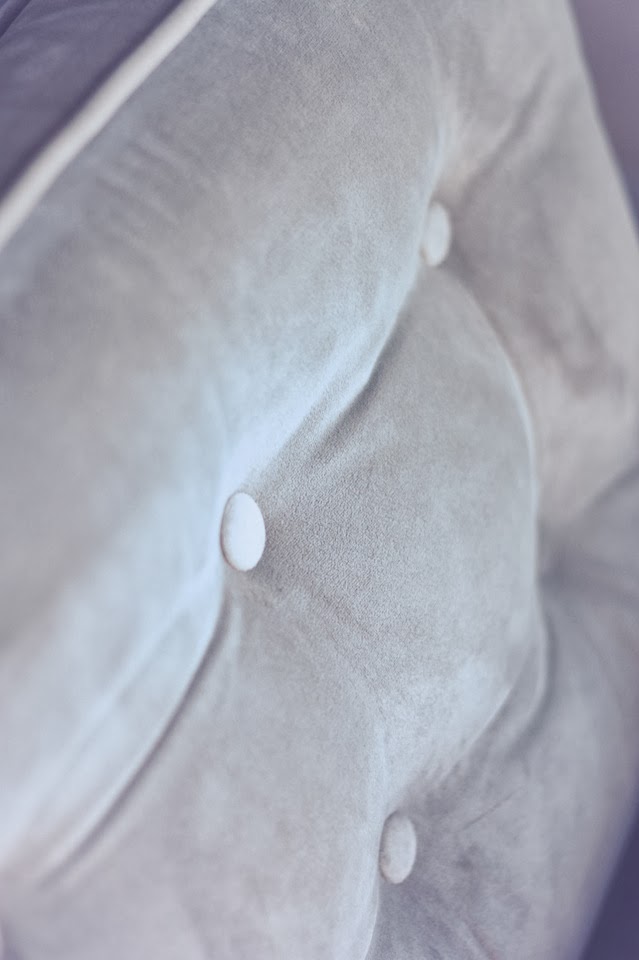
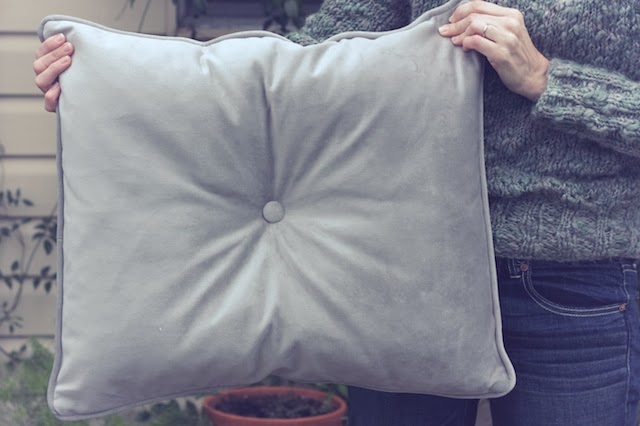
Rachel sent me extra buttons to tuft the throw pillows while I was at it. It’s the perfect finishing touch.
Wow, that looks fantastic! Doesn't look like any slipcover I've ever seen! Your tufting (haha I learned a new word today!) was really informative – makes me want to tuft some throw pillows for our couch. Or maybe I should start with sewing them first. 😀
I've always ALWAYS wanted IKEA furnature, just for all the fun and less-pricy options, but by the time one came to Winnipeg (my home town), I'd JUST moved to the Yukon. I think I missed them by a month. 🙁 I'm not holding my breath about one coming up here, considering that it took, what, decades?! for them to put a centre between Calgary and Toronto.
What a beautiful makeover! Loved seeing how you did the tufting too. Don't you just want to sit across from it and stare at it all day??
So beautiful! How fortunate your kitty is anti-velvet!
Thank you! You could sew your own cushions, Heather. If I ever get around to learning to sew, it will probably be for some kind of home project.
I remember being so excited when I heard Houston had an Ikea store. But in the almost 20 years since, I haven't gone there all that much. It's a big undertaking to drive there,walk thru, load up the right stuff, come home, and assemble. But when we go, we have a huge list of things to get while there.
Thanks, Kelly! I do love it, but what a hard time I had getting photos of it in our tiny living room. It does make the room.
Thank you, Sarah, and it's very fortunate! I'm still amazed that it's working out so well. She really did seem hurt that I got rid of "her" couch, though.
That looks professionally done! Great job! I'm going to remember this post for the day when we finally give up our futons and buy a couch. 😉
Thank you, Vanessa! It is a very affordable option for nice looking furniture. Our last couch cost much more than the Karlstad and was just not durable. Tufting, covers, and new legs were a pretty cheap way of making them unique.
Hello…I was intrigued by your original sofa-customising article and am about to get the Karlstad in the same fabric, with little black flecks. However I'm slightly worried that the fabric apparently didn't last very long for you. If you didn't have a cat, do you think the fabric would have held up? Is it sturdy enough for the average everyday use if there is no cat to grab the flecks? Or do you think the fabric isn't a great quality anyway and would be ruined eventually, with or without cat? Any feedback appreciated! Thanks.
I'm definitely looking into tufting the cushions as yours look amazing! Many thanks for the reply 🙂
Thank you, Leanne! No, those were actually 1" buttons. They have the same effect, though. Good luck on your tufting job. Come back and post a link in the comments if you have photos of it up on the internet.