Cinnamon Socks
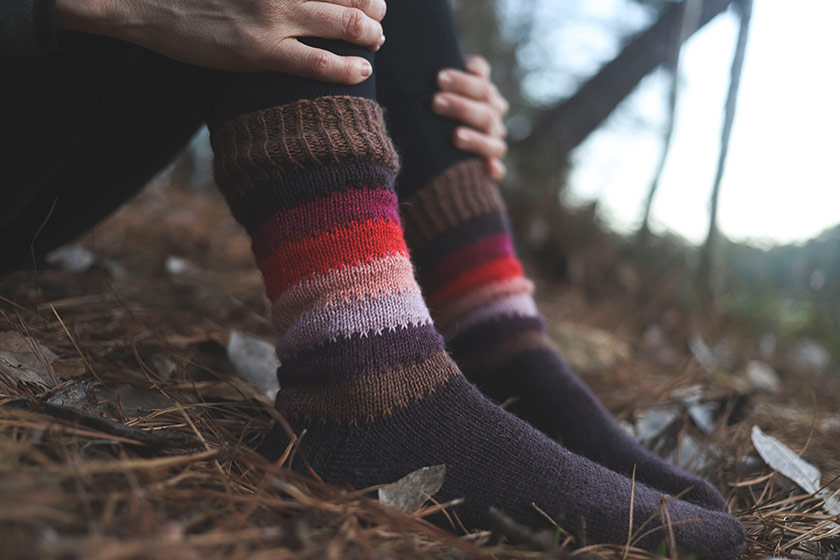
Wow, I started and finished these a long time ago. These photos are from the time when we got our little hard top A-Liner style camper and took it on our first trip. Looks idyllic doesn’t it? I actually had a terrible migraine the whole time, but at least I got nice FO pictures out of the trip.


These are my Cinnamon Socks, knit in Regia Perfect yarn in the Cinamon colorway that my friend Frauke gave me. I had never tried Pairfect before and didn’t really know what to expect. I became a fan with this project sold me on them. Later when it was time to knit some Christmas socks, I went with Pairfect because I knew I could get consistent look for “couples socks.” (Yeesh, that felt weird to type.)
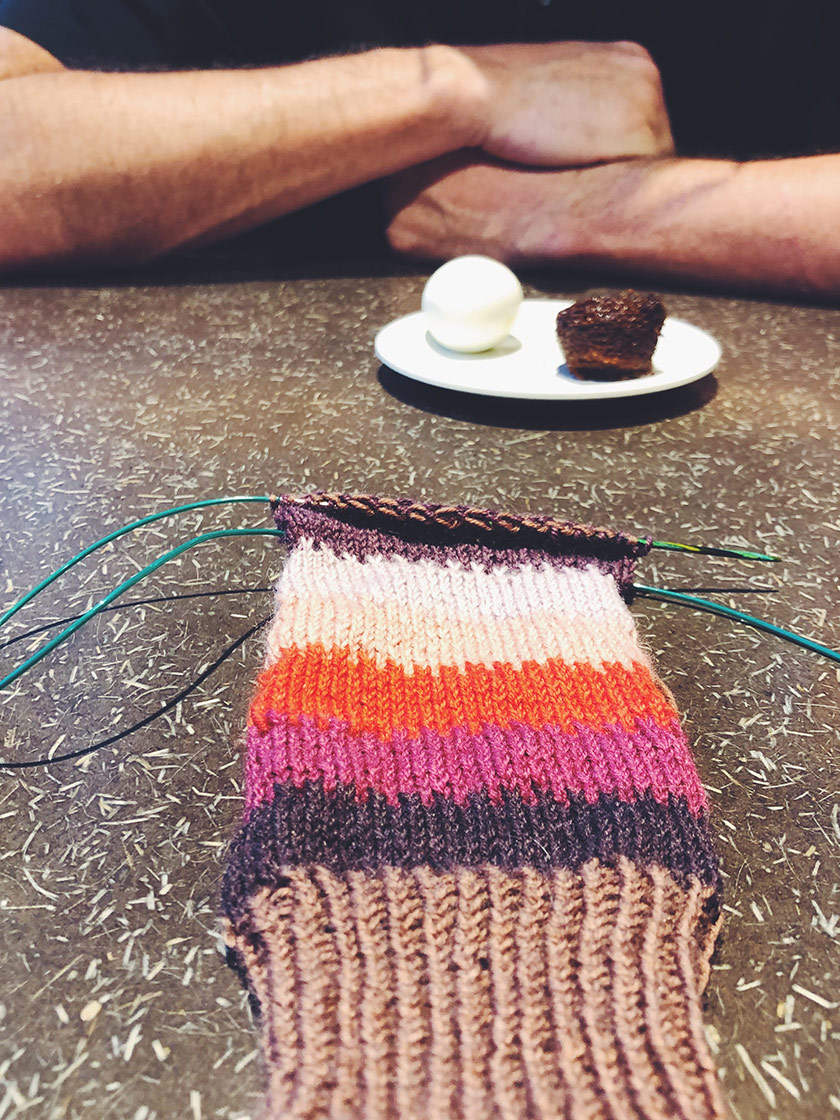
In case you’ve never used Pairfect before- it is one ball of yarn with enough yardage for two perfectly matching socks. There’s some contrast color in between the amounts you would use for your matching socks to delineate the end of the first sock and beginning of the second. After knitting sock number 1, you can cut the strand, unwind the contrast yarn to the start of the sock colorway again, then continue knitting your second sock. There is enough yarn to make two full sized adult socks with sizable cuffs. In fact, I knit my cuffs extra long just to use every bit of the striped section before getting to the heel flap. This is the point where people usually start their heel flap and gusset. It leaves the foot of the sock is a solid color and there is a lot of this solid section in order to make any size foot you need. But you could play around with this, especially if knitting a child’s sock.
I loved receiving this sweet gift in the mail and I love the stripes with the rich brown main color. I added a little slip stitch detail just for funzies at each color change.
Details: I used size 0 circulars and Regia Perfect yarn in the Cinamon colorway to knit a traditional heel flap and gusset sock. I believe I cast on 56 stitches and worked a 1 x 1 twisted rib cuff until the light brown color changed, then I moved into stockinette for the leg.
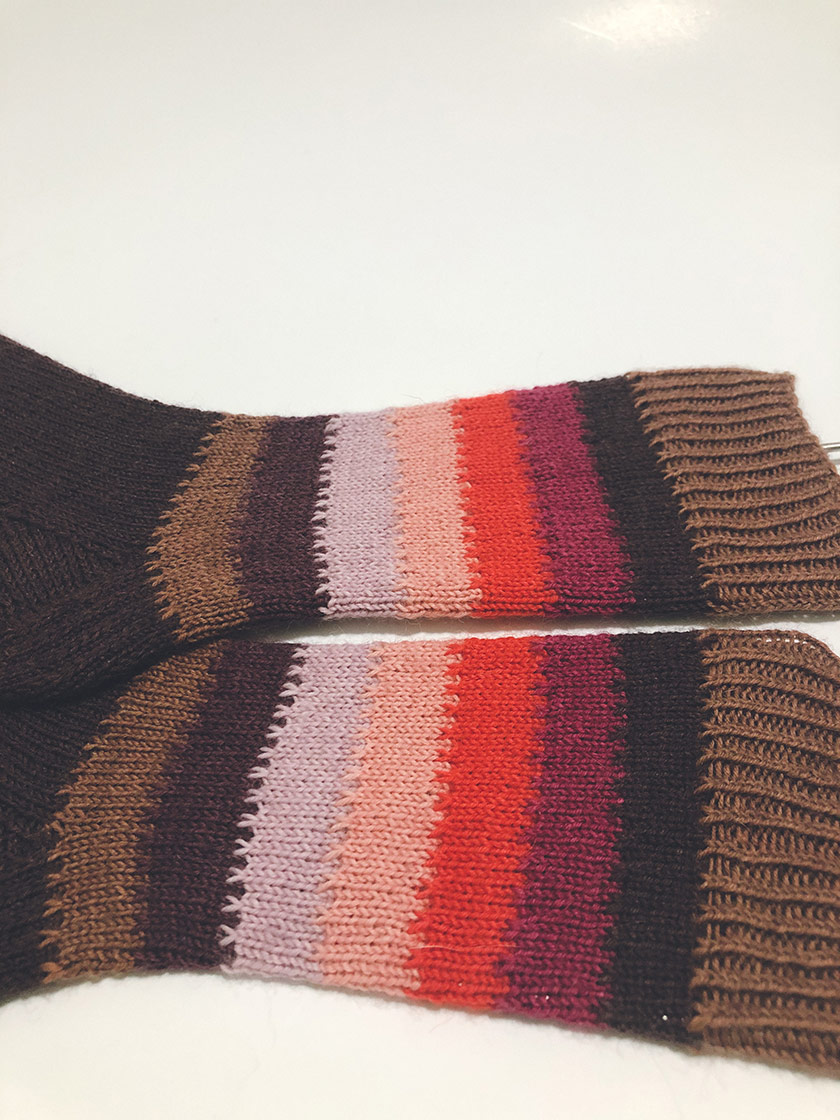
I worked the slipped stitch detail by slipping every other stitch whenever I came to a new color change. I did this for one round then continued in stockinette until the next color change. Because these socks are made to accommodate a wide variety of leg sizes, the color changes didn’t always start at the same point. That didn’t make a difference, I just slipped every other stitch again, making sure to line the slipped stitches up with the ones at the previous color change, for another round. It is so easy and adds a custom look to the leg.
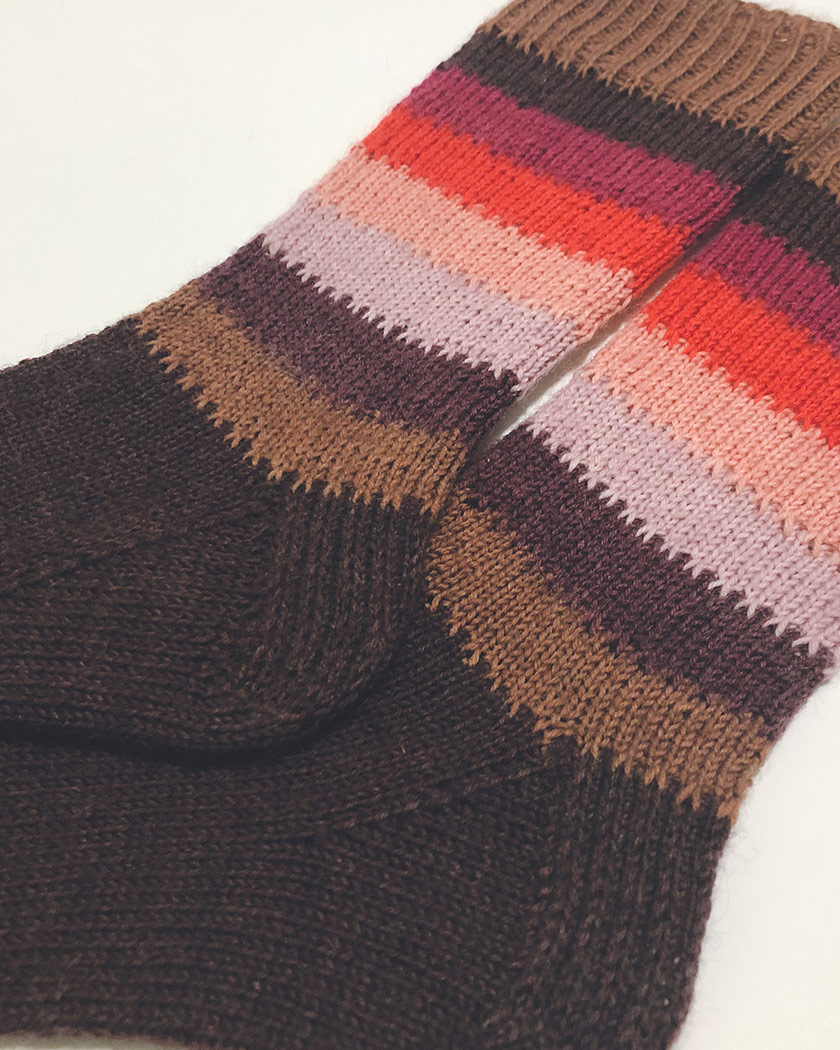
As soon as I reached the main foot color, I began my traditional slipped stitch heel flap. The first round after picking up all of the gusset stitches, I made sure to knit into the back of each gusset stitch to cinch up any looseness from the pick up. This works like a charm for a flawless gusset.
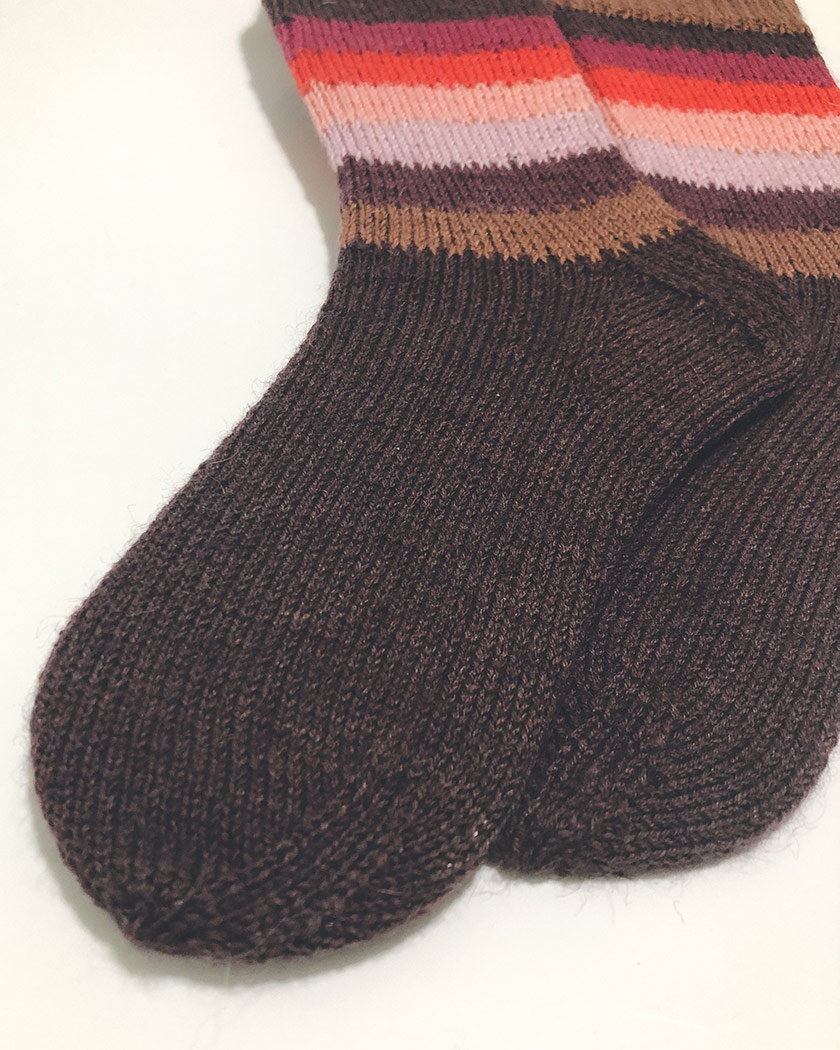
At the toe, I knit one stitch before and after each decrease stitch. I always find that if I keep my K2tog on the ends of each needle, when I later remove the needles, there’s a little gap between the stitches of the front and back of the toe. Having a knit stitch on the end of each needle, between those edge decreases, Sandwiching the decreases lets me tug a bit tighter when moving from one needle to the next. You can see how it makes an extra thick decrease line. That doesn’t bother me as long as there isn’t a loose, gappy, toe.
I closed up the toe with Susan B Anderson’s No kitchener toe.
Man, this post has me craving a camping trip. Since moving, we haven’t taken time to get away. We’ve been working and settling in, and saving money. But camping is easy on the budget and it’s my favorite kind of vacation anyway. Maybe this November…

More about these Cinnamon Socks on Ravelry
and my Youtube channel in Episode 34: A Beach Tee, Episode 35: Endweaving Party, and Episode 58: Socks and a Rant
