I’m Not the One Preparing for Campus…
… that would be my daughter… but I’ll wear the jacket just the same.
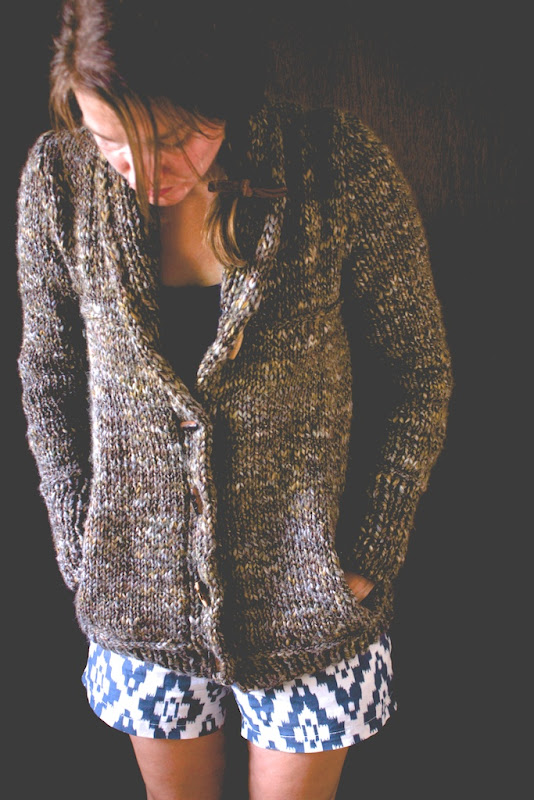
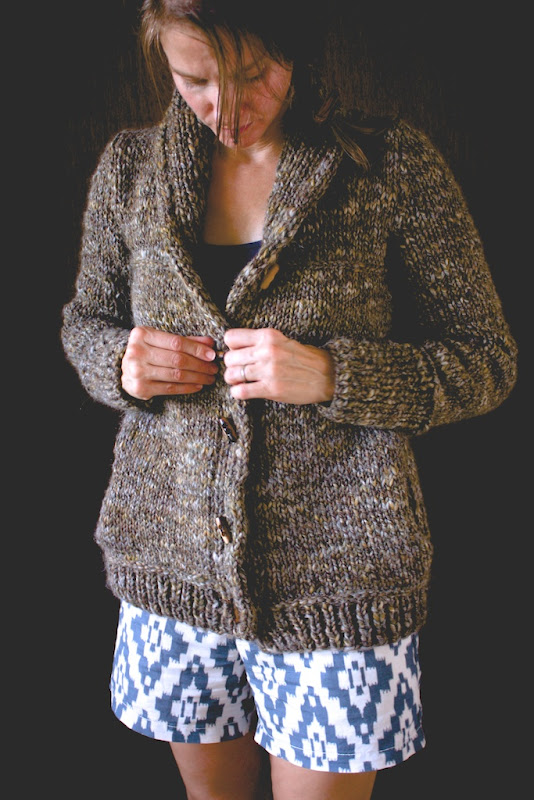
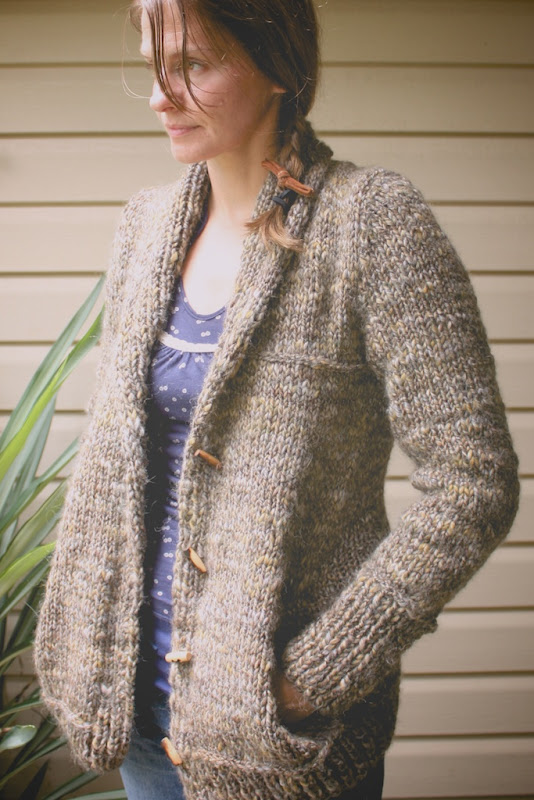
This is Campus Jacket from Amy Christoffers, who has some of the most wearable looking sweater patterns out there, and it was also my project for the Summer Sweater Knit Along at luvinthemommyhood.
I can’t mention the knit along without feeling a little regret that I didn’t participate more in the chat. I mostly lurked and knitted like crazy. Before I knew it, I was finished. But, like I said, I’m new to group knitting, so I’ll cut myself some slack.
This knit up really fast; however, the finishing had me indecisive and took a while. I found myself mentally pacing, procrastinating with late night bouts of Pinterest and pattern searches. I was avoiding making a decision about the closures. More on that later (hold onto your wig.)
Here’s what I love about this:
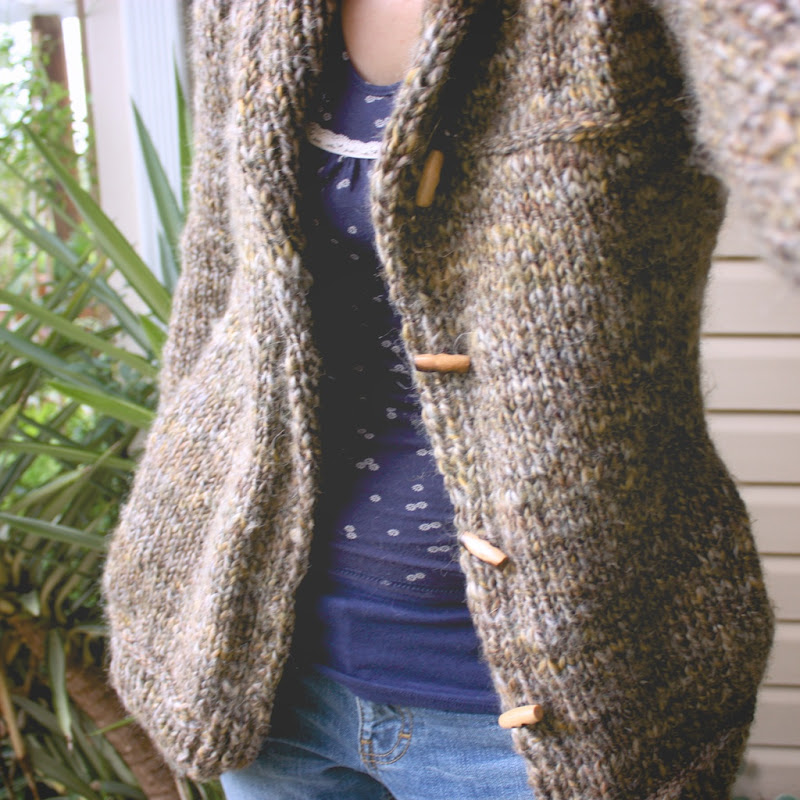
The yarn- Campus is nubby, rustic, multihued and fun to wear. Very fall.
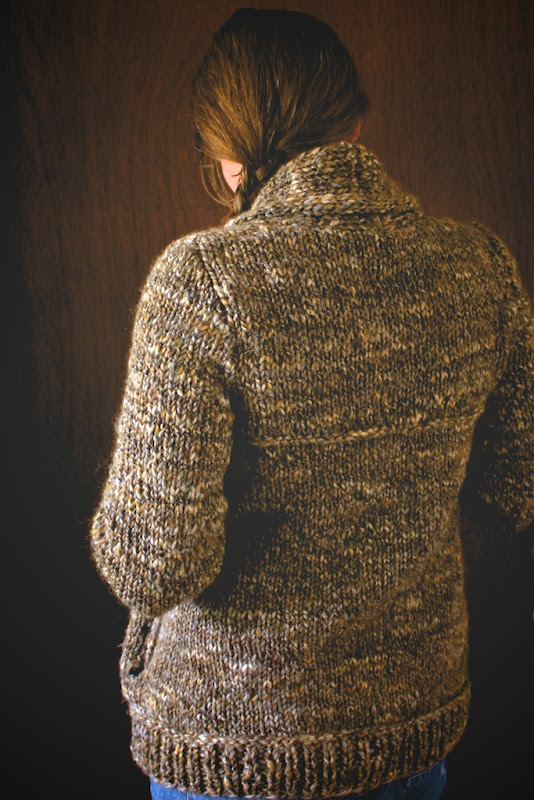
The collar- it looks very grandfatherly. I like.
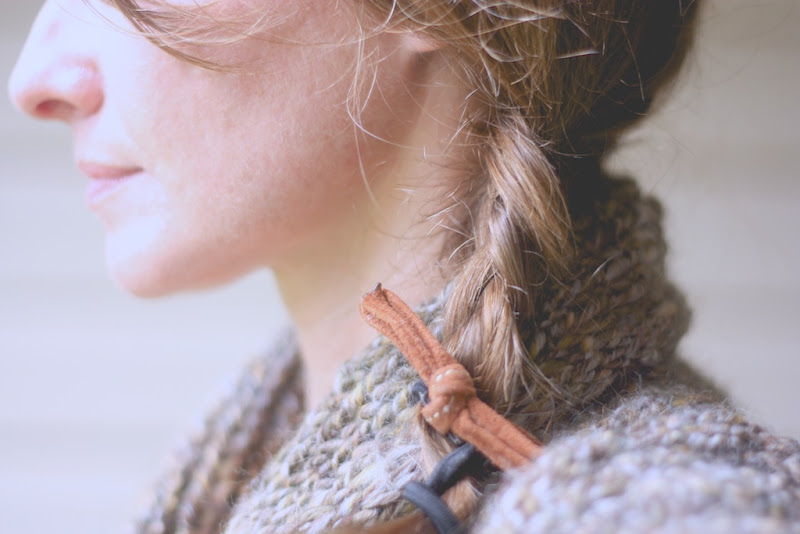
Toggles- Cool, no matter how you hook them.
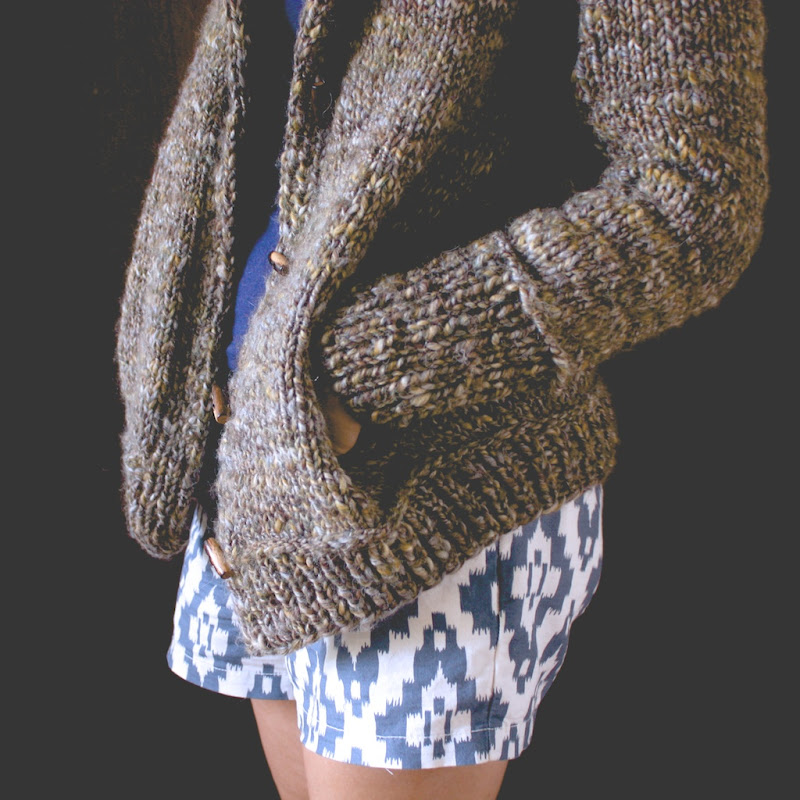
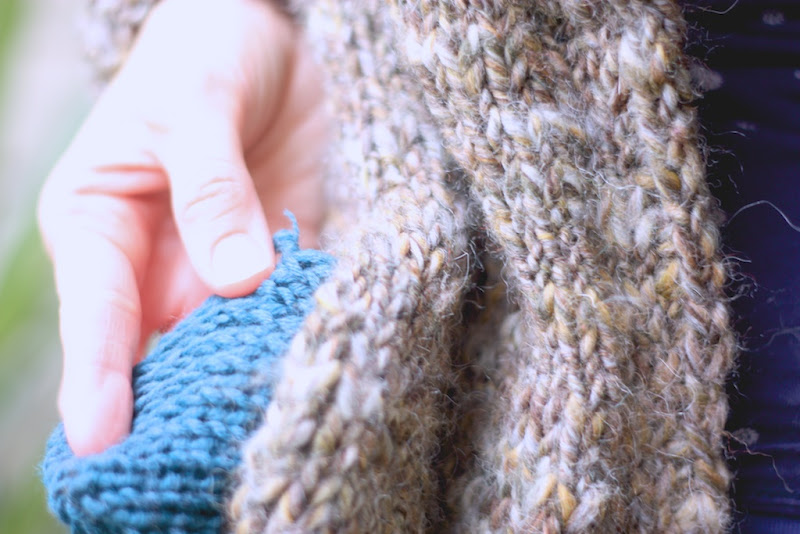
contrast pocket linings.
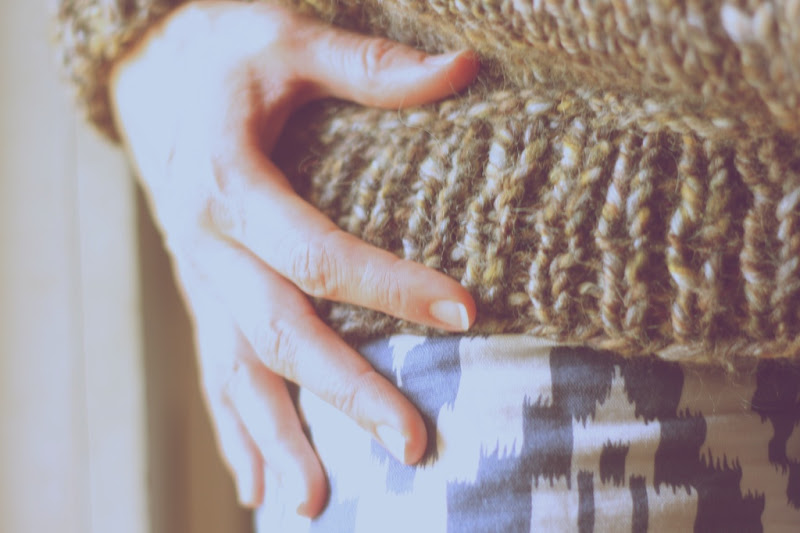
and how, here and there, all the stitches are bound off, with more picked up from the bound off edge to create a deconstructed look.
Here’s what I did different:
I cast on for the smallest size but added a 5 stitch ribbed button band to each front edge (10 extra stitches) as several Ravelers had done.
I kept the ribbing for the button band live after binding off the bottom edge ribbing. I then worked the rib st of button band and began picking up stitches for body, finishing with working the rib st on button band of other side.
I wanted to make sure the sweater closed all of the way with no gaps, however it seemed that added stitches in the button band didn’t work with leather toggle loops. I tried every configuration of toggle closure I could, but in the end it just didn’t look good (see my last post) so I was faced with the choice of re-knitting or southern engineering it.
I am from the south.
What I should’ve done:
Nix the toggles and extra stitches, and work buttonholes into the band.
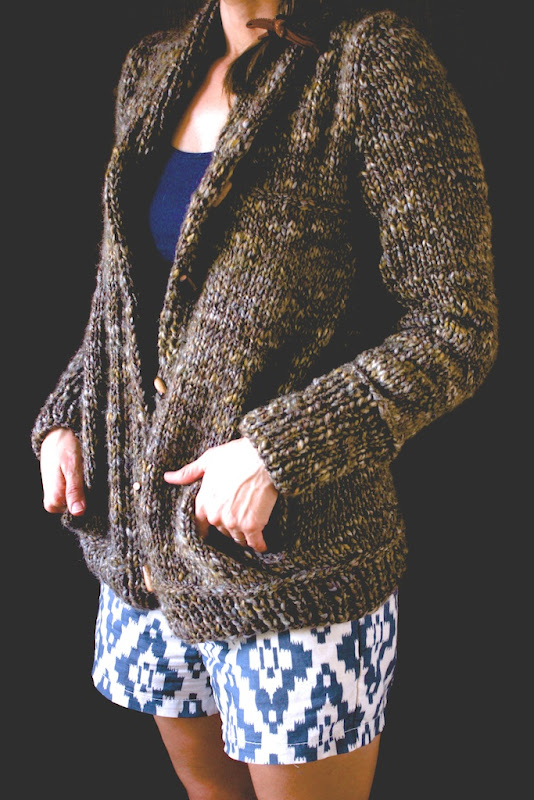
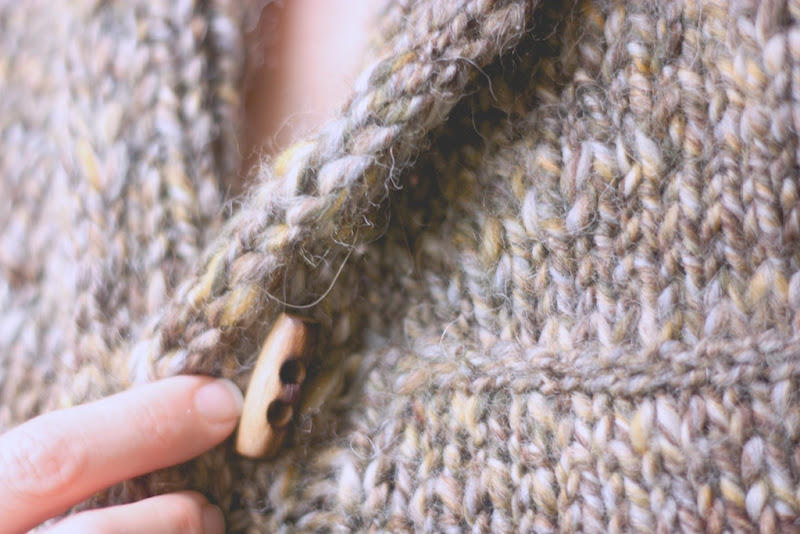
I decided to sew my toggles on as buttons and use the natural gaps on the corresponding area of the other band as button holes, since it was too late for me to add them. I used my needle to widen a stitch for each button, and it’s working fine, thanks to the nature of the thick and thin yarn.
Now the button bands lay, one over the other, and the fit is much better, smoothing out the pockets so that they look less like tumors hanging from my hips. I may still stretch the pocket linings a little when blocking because they are really small and don’t work too well as pockets, but I really like that bit of contrasting color peeking out.
More Deets:
I started the ribbing with the wrong side (k1,p1, repeat) so there would be a purl ridge before the stockinette portion, giving a clean transition, as I’d seen suggested on Ravelry. However, if you don’t add extra stitches, this isn’t necessary.
Don’t forget to bind off in rib stitch (I forgot on my first bind off, but it’s not too noticeable)
To create the neatest ridge when picking up body stitches I picked up the stitch from the row just beneath the bind off row, moving under the right “leg”of every stitch from the wrong side so that it was easier to count the correct pick ups.
Personal notes:
On sleeve ribbing it took me 22 rounds to get 6 in. From the end of sleeve increase to 20 inches (just before wrist bone on me) was 18 rounds even.
On increases I used m1L and m1R.
Possible errata:
Page 4, 1st paragraph: At shoulder shaping there should be 8 sts on holder (for size 32″) and 26 for collar. I think the pattern has a misprint reading 7 sts on holder here.
Page 4, 3rd paragraph: Also, on rt front potion there’s a direction to knit 15 sts before the end then m1 increase, p1, [k1,p1] 8 times. Well, I think the 15 should be a 17.
More friendly advice that may be completely unnecessary:
When adding attached I cord bind off to pocket make sure to add it to the back side of pocket opening. I screwed up the first time and added it to the front edge and it was way too bulky and visible.
If anyone out there does choose to make leather toggle loops, Amy Christoffers has a visual tutorial here. I still found it difficult to attach them in a way that looked good, but I guess that won’t be a problem now.
Now I plan to stretch the pocket lining out a little while blocking and smooth the outside of the pocket opening as well, because mine are small and bulky.
Ideas: If the pockets are just too poofy, I could always remove the lining and sew them shut, but that shouldn’t be necessary.
If the fit still isn’t quite right, knitting a rib stitch belt to wear instead of toggles would be a good alternative and take up any loose fabric.